Thus you may want to:
Creating a New Geometry Using the Start Command
-
Select Start > Mechanical Design > Sketcher from the menu bar.
-
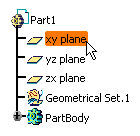
Select the reference plane in the geometry area.

Or alternatively, Select the reference plane from the specification tree.
 |
Creating a New Geometry Using the New Command
-
Select File > New from the menu bar.
The New dialog box is displayed.
-
Select Part from the New dialog box.
If the New Part dialog box appears, select the options you need and validate by clicking OK. This dialog appears if you customized your session as explained in the Customizing chapter of the Part Design User's Guide. More precisely, refer to Part Document.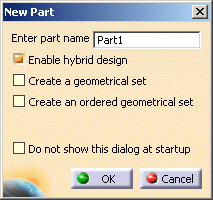
-
Click OK to validate.
The Part Design workbench is displayed. -
Select the reference plane in the geometry area or select the reference plane from the specification tree.
-
Click the Sketch icon
 from the Sketcher toolbar.
The Sketcher workbench appears as shown here, with the main Sketcher toolbars displayed on the right hand side and at the bottom.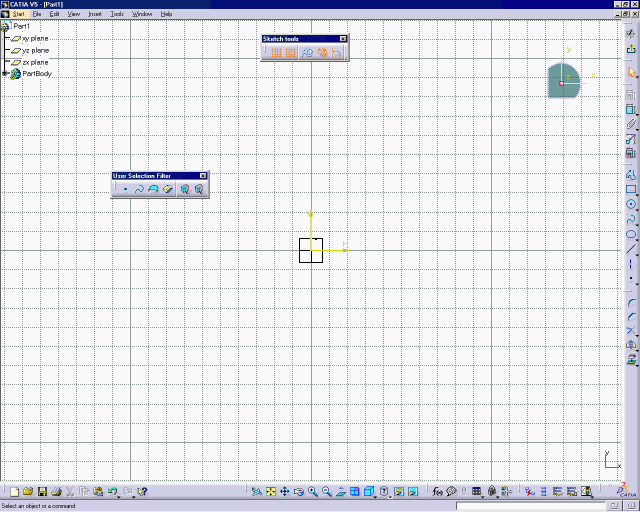
Now, let's see the different Sketcher toolbars and how to restore their positions.