 .
.Note that for efficiency purposes, it is recommended to use options dedicated to Sketcher elements visualization OR options dedicated to 3D elements visualization. Indeed, when working on a sketch, it is preferable not to use these two types of visualization simultaneously.
-
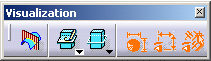
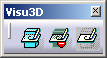
From the Visualization toolbar, activate the Visu 3D sub-toolbar.
-
Set the visualization mode that best meets your needs:
Behavior Common to the Three Modes
Whatever mode you choose, you can always:
- access and select features in the specification tree even when the 3D background is not visualized.
- When editing a sketch, the visualization mode you defined for it is retrieved.
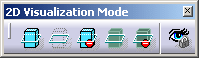
Working with the Usual Option
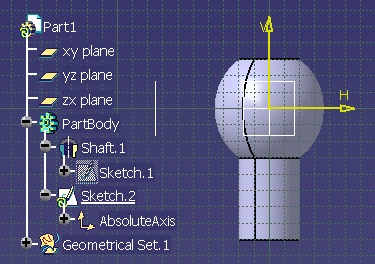
The Usual mode
![]() is the default option. When activated, the 3D geometry is visible in the
Sketcher.
is the default option. When activated, the 3D geometry is visible in the
Sketcher.
Working with the Low Light Option
If activated, the Low Light mode
![]() introduces a low light for all geometrical elements and features that then
appear as gray-colored, except for the current sketch. Additionally,
although you can see them, you cannot select them. You can just handle
Sketcher elements.
introduces a low light for all geometrical elements and features that then
appear as gray-colored, except for the current sketch. Additionally,
although you can see them, you cannot select them. You can just handle
Sketcher elements.
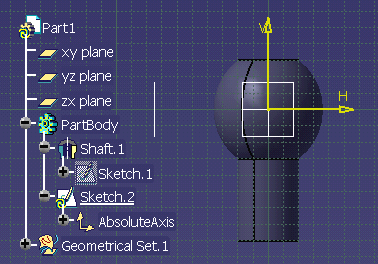
Working with the No 3D Background Option
If activated, the No 3D Background mode
![]() hides
all geometrical elements and features (products, parts, etc.) except for
the current sketch. Even if geometrical elements are coplanar with the
sketch plane, these elements are hidden.
hides
all geometrical elements and features (products, parts, etc.) except for
the current sketch. Even if geometrical elements are coplanar with the
sketch plane, these elements are hidden.