- ATOMIZER.cgr
- BODY1_2.cgr
- BODY2_2.cgr
- LOCK.cgr
- NOZZLE_1_1.cgr
- NOZZLE_1_2.cgr
- REGULATOR.cgr
- REGULATION_COMMAND.cgr
- TRIGGER.cgr
- VALVE.cgr
- You can manage your Wrapping result as alternate shape automatically. Refer to Alternate Shape Management.
- you can customize wrapping color using Tools > Options...
- You can simplify your wrapping result within the Wrapping
dialog box.
For more detailed information, read Using Simplification Command and More About Simplification
-
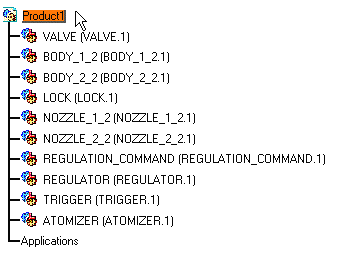
Select Product1 in the specification tree.
-
Click the Wrapping icon
 in the DMU Optimizer toolbar.
The Wrapping dialog box appears: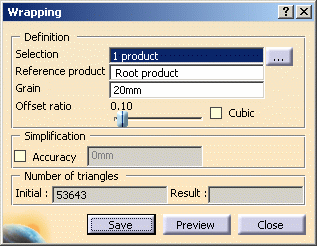
The number of triangles representing the selected product is displayed in the Number of triangles area. -
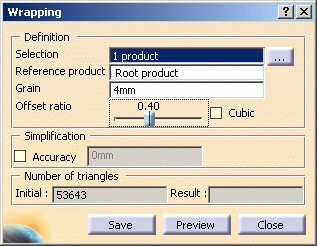
Set the grain accuracy by entering a value, 4mm for example.

Setting the Ratio
The Ratio determines the wrapping representation. A lower ratio results in a thinner wrapping coverage. -
Move the slider to the right (set the ratio to 0.40 for example)
-
Click Preview button.
The progress bar is displayed letting you monitor and, if necessary, interrupt (Cancel option) the calculation. 
The number of triangles representing the wrapping result is displayed in the Number of triangles area as shown below: 
The Preview window is also displayed: 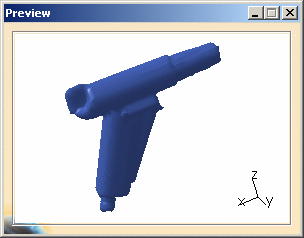
-
Click Save.
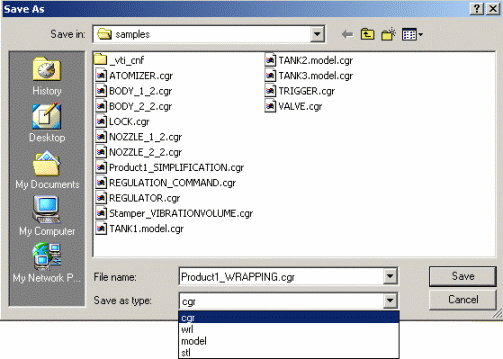
The Save As dialog box appears. -
Select the desired format type from the drop-down list. i.e. cgr and click Save.
-
Click Close to exit the wrapping functionality.