The Camera Commands toolbar is displayed by default under the Menu bar when accessing the Real Time Rendering 2 workbench:

|
Camera toolbar |
Contextual command/Menu item |
|
|
Window > Camera Window menu item |
|
|
Window > Camera Window menu item |
|
|
Update from View contextual command |
|
|
No contextual command or menu item |
-
Select a camera in the list (where you see "None" right now) which contains all the cameras you may have previously created. The camera commands are activated:

Note that if the camera you selected is a cylindrical camera (i.e. the lens type is "parallel"), only the first two commands will be activated because the Manipulate Focal command only applies to conical cameras (i.e. with a "perspective" lens). -
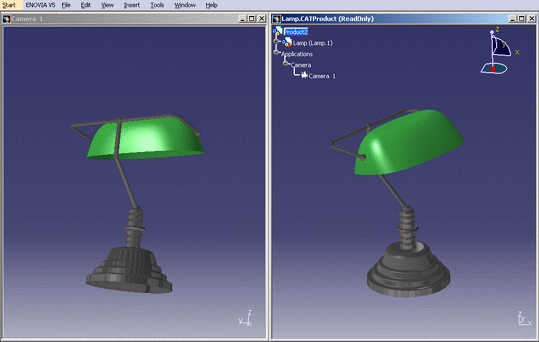
If you want to position yourself behind the camera and observe the captured image, click Camera Window
 :
a new window displaying the camera viewpoint is opened. When you
manipulate the handler in this window, the camera is simultaneously
positioned in the main window.
 -
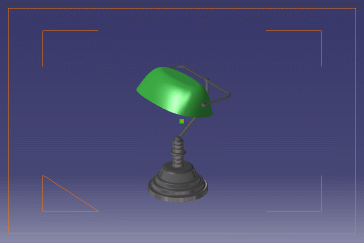
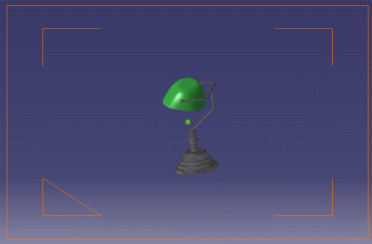
To adjust (i.e. center) the camera when the viewpoint is modified, click Update from View
 .
.
Do not forget that each time the viewpoint is modified, you need to click Update from View to re-adjust the camera. -
Click Manipulate Focal
 to modify the focal length (i.e. the distance between the camera origin
and the viewing plane) directly in the 3D viewer.
to modify the focal length (i.e. the distance between the camera origin
and the viewing plane) directly in the 3D viewer.A green circle appears with an arrow indicating the current focal length in millimeters as shown below:
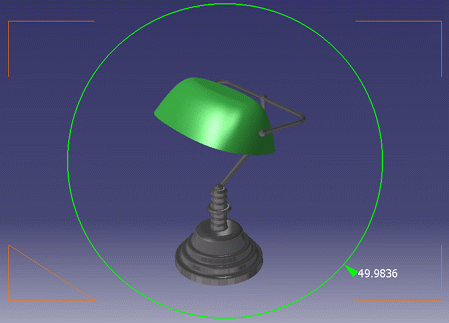
You can then drag the green arrow clockwise to increase the focal length or anticlockwise to decrease it.
When you drag the arrow, the value in millimeters is updated and the focal length changes accordingly.The position of the camera origin is also modified simultaneously (the camera moves backward or forward) so that the model always fits into the camera field of view. Therefore, the perspective is modified without having to zoom in or out afterwards.
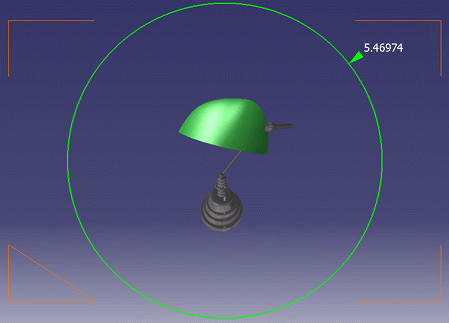
The focal length can also be defined via the camera properties in the Lens tab. If you access the Properties dialog box, you see that the value displayed in the viewer matches the one displayed in the Focal Length box. Activating the Manipulate Focal command also keeps the Update from View command activated (the icon turns
 ):
this means that the camera is automatically updated each time the
viewpoint is modified. There is no need to click Update from
View after each modification of the viewpoint.
):
this means that the camera is automatically updated each time the
viewpoint is modified. There is no need to click Update from
View after each modification of the viewpoint.To exit the Manipulate Focal command, click  .
.
![]()
