The following topics are covered:
Measuring Minimum Distance and Angles
cfysm/samples.
![]()
-
Click Measure Between
 .
In DMU, you can also select Analyze > Measure Between from the
menu bar.
The Measure Between dialog box appears: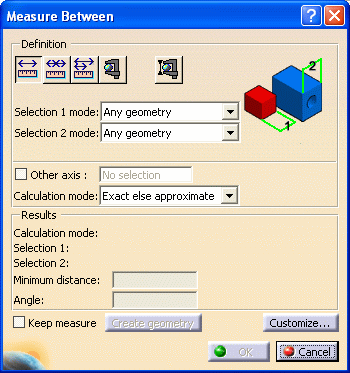
By default:
-
minimum distances and if applicable, angles are measured.
-
measures made on active products are done with respect to the product axis system.
-
Measures made on active parts are done with respect to the part axis system.
Note: This last distinction is not valid for measures made before Version 5 Release 8 Service Pack 1 where all measures are made with respect to the absolute axis system.
-
-
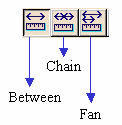
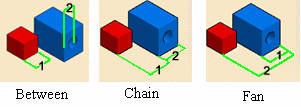
Select the desired measure type.
Notice that the image in the dialog box changes depending on the measure type selected.
-
Set the desired calculation mode in the Calculation mode drop-down list box.
-
Click to select a surface, edge or vertex, or an entire product (selection 1).

Notes:
-
The appearance of the cursor has changed to assist you.
-
Dynamic highlighting of geometrical entities helps you locate items to click on.
-
-
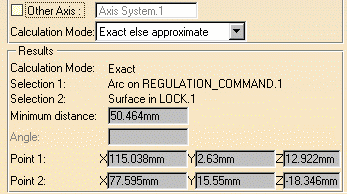
Click to select another surface, edge or vertex, or an entire product (selection 2). A line representing the minimum distance vector is drawn between the selected items in the geometry area. Appropriate distance values are displayed in the dialog box.
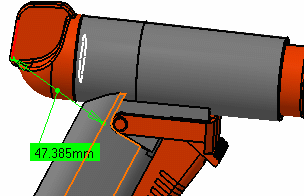
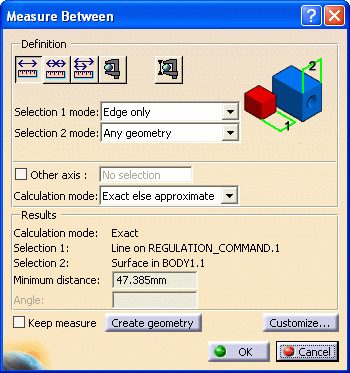

Notes: - For reasons of legibility, angles between lines and/or curves of less than 0.02 radians (1.146 degrees) are not displayed in the geometry area.
- By default, the overall minimum distance and angle, if any, between the selected items are given in the Measure Between dialog box.
- For more detailed information about the dialog box options, refer to More About the Measure Between Dialog Box
Accessing other measure commands

-
Measure Item
 is
accessible from the Measure Between dialog box.
 -
In DMU, the Measure Thickness command is also accessible from the Measure Between dialog box. For more information, see the DMU Space Analysis User's Guide.
-
Select another selection and, if desired, selection mode.
-
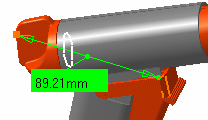
Set the Measure type to Fan to fix the first selection so that you can always measure from this item.
-
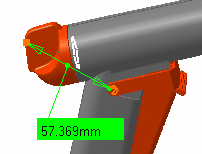
Select the second item
-
Select another item.
-
Click Ok when done.
Measuring
Maximum Distance
-
Click Measure Between
 .
In DMU, you can also select Analyze > Measure Between from
the menu bar.
The Measure Between dialog box appears. -
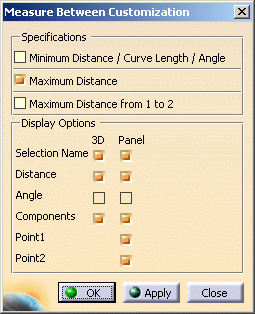
Click Customize... and select Maximum Distance check box in the Measure Between Customization dialog box.
-
Click OK.
-
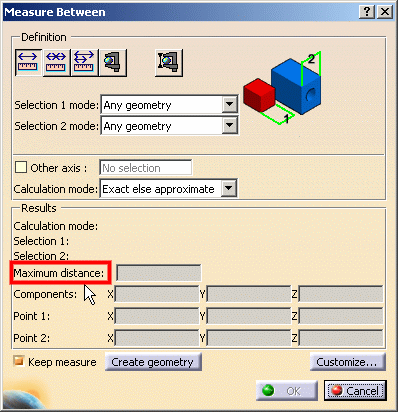
The measure Between dialog box is updated accordingly:
-
Make your measure:
-
Select the desired measure type (for example Between)
-
Set the desired selection modes (for example Surface only for both selections)
-
Set the desired calculation mode (for example Approximate)
-
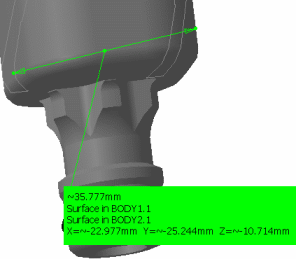
Click to select two surfaces, two volumes or a surface and a volume.
(For example two surfaces Surface in Body 1.1 and Surface in Body 2.1)

-
-
Click Ok when done.
Distance is measured normal to the selection and is always
approximate. Two options are available:
-
Maximum distance from 1 to 2 giving the maximum distance of all distances measured from selection 1.
Note: This distance is, in general, not symmetrical.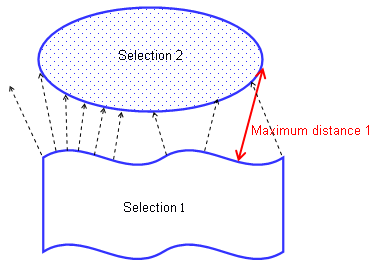
- Maximum distance giving the highest maximum distance
between the maximum distance measured from selection 1 and the maximum
distance measured from selection 2.
Note: All selection 1 (or 2) normals intersecting selection 1 (or 2) are ignored.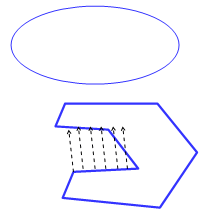
Between two G-1 continuous surfaces on a part in
Design mode (result is exact)
You can calculate the maximum distance between two G1 (continuous at the tangency level) surfaces (planar or not). The resulting measure is exact.
|
|
Notes:
|
Between Wireframe entities
You can calculate the maximum perpendicular deviation
between point, lineic and surfacic elements (except surface/surface which
uses max perpendicular distance see table below)
The table below lists the possible wire frame selections for measuring
maximum distance:
Entity |
Surface |
Curve |
Point |
Surface |
No |
Yes |
Yes |
Curve |
Yes |
Yes | Yes |
Point |
Yes | Yes | MIN |
Maximum Perpendicular Deviation Behavior:
- The second element is discretized (with a tessellation independent from the visualization sag)
- A minimal distance is then, measured between each point of discretization and the first selected element
- Are kept: only the minimal distances which project orthogonally.
The final value given is the maximum distance value of all kept minimal orthogonal distances.
Consequences:
- The behavior is not symmetric when "Maximum Distance from 1 to 2" is used (except for point selection)
- The result is approximate
- If the minimal distance measured between a point of selection 2 and selection 1 is not orthogonal, it is not taken into account. In other words, cases in which there is no orthogonality between the direction given by the two points of the minimal distance and selection 1 are excluded.
- Required orthogonality to keep the minimal distance within the result is not modeler-tolerant (Logical G1 continuity is not taken into account)
- Some scenarios do not provide any solution (see example below)
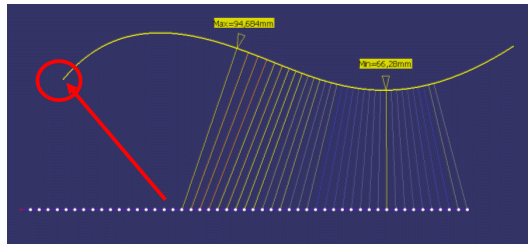
In this scenario, the left part does not return any solution since minimum distances in this zone are obtained at the curve left extremity point and are not orthogonal to the curve.
