Using the Track Command

This procedure demonstrates how to use the Track command. 
A track is the route of a moving object. Objects can be:
  • products

  • shuttles

  • section planes

  • lights

  • cameras

  • the seven Inverse Kinematic (IK) control points of a manikin. They are:

Note: A manikin's seven IK control points are the:

  • line of sight (if displayed)

  • neck

  • pelvis (root)

  • right and left hands

  • right and left feet

For more information, see Using the Inverse Kinematics Mode.

Attach the object to the segment

  1. In the samples directory, open the Track.CATProduct  file.

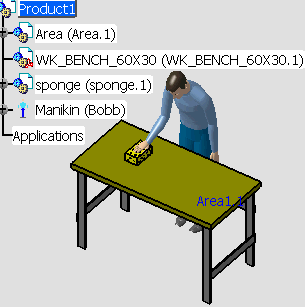
  2. In the track you will create, the manikin will wipe the workbench with the sponge. The sponge must first be attached to the manikin's hand. (An object attached to a segment is a one-way relationship. The object will follow the movement of the segment; the segment will not follow the movement of the object). 

  3. To make the attachment:


    • Select the Attach/Detach from the Manikin Tools toolbar.
    • Select the sponge.
    • Select the manikin's right hand.
      A message appears confirming that the sponge is now attached to manikin Bob's right hand.

Record the track

 
  1. Select the Track from the Manikin Simulation toolbar.

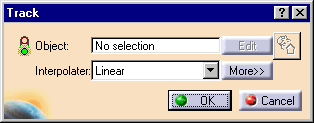
  2. At this time, the following items appear. Select the links for more detailed information.
     

  3. From the specification tree or in the 3D viewer, select the manikin's right hand segment.

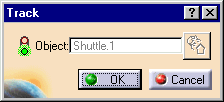
    Right Hand appears in the Object field of the dialog box and the Manipulation toolbar appears.


  4. In the Interpolater combo field, select Spline.


  5. The 3D compass attaches to the hand in the default position for that segment.

  6. In the Quick View toolbar, select Top View.


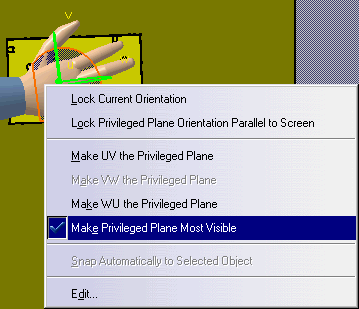
  7. Right-click on the compass to bring up the contextual menu. Select Make Privileged Plane Most Visible.


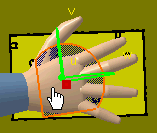
  8. Place the cursor on the compass so that the privileged plane turns orange.
  9. Hold the left mouse button down and drag the compass. The hand and sponge will follow.

  10. Select Record in the Record toolbar.

  11. Repeat steps 9 and 10 several more times.

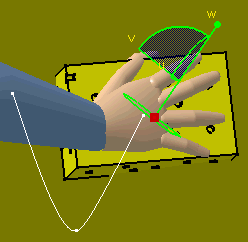
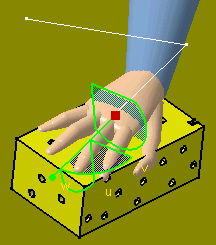
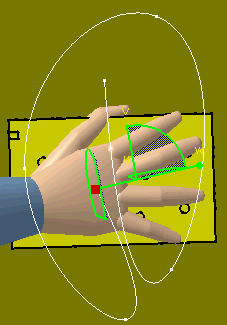
  12. The track of the recorded shots is shown; with points indicating the individual recording shots.
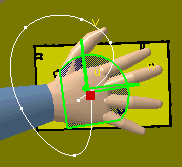
  13. The track is also shown in the specification tree.
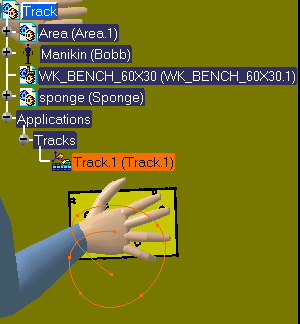
     

  14. OK to exit the Track command or run the track simulation as described below.
Run the track simulation

 
  1. To re-open Track.1, double-click on it in the specification tree.

  2. Select the Parameters icon in the Player toolbar. Set the Time Step to "5 s".

  3. In the Player toolbar, select the Play Forward icon to see the simulation.

The Recorder Toolbar

Use the buttons in the Recorder toolbar to record, modify, or delete a shot of the track you are creating.

Record a new shot
Each time you move the object is positioned with the 3D compass, press this button to record the new shot.
Modify the current shot
Records the modification(s) on one shot at a time.
Delete the current shot
Deletes one shot after another. You need to be positioned on the shot to for it to be deleted.
Reorder the shots
This dialog box allows the user to change the order of the shots.
Reuse the shots
This allows the user to reuse the shots.

The Player Toolbar

The Player toolbar is available every time you create a track or a sequence, or when you play a track or a simulation. You can undock the Player toolbar at any time

Use the VCR-like buttons or the slider  to play your simulation.

Time line
Time
Skip to beginning
Step backward
Play backward
Stop
Play forward
Step forward
Skip to end
Parameters

Use this dialog box to set the step time for the simulation and amount of time the simulation will run.

The Track Dialog Box
 

For demonstration purposes, the following explanation of the Track dialog box correlates to the Track.CATProduct file.

Right Hand segment of the manikin.
Brings up the properties of the object (the Right Hand segment of the manikin).
The track can be interpolated in three different ways.

  • Composite spline

  • Linear

  • Spline