-
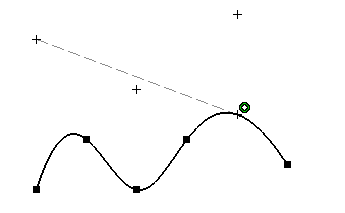
Multi-select the elements to be used for projection.
To multi-select several elements you have two possibilities either:
-
use the control key before selecting the command.
-
drag the cursor if the command is already activated.
-
Select one curve type element on which the element first selected will be projected and on which projection points will be created.
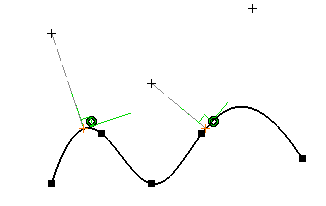
The projection points automatically appear on the curve type element last selected, as well as construction lines.
-
The constraints appear, of course on the condition the Geometrical Constraint option command
 is active in the Sketch tools toolbar).
 -
The points that are projected are perpendicular to the element last selected provided this element is a line. Note that both the selected points and the projected points are associative with the construction lines that are also created.
-
A construction line is created between the original points and the projected ones.
Creating Associative Projected Points
-
Click Projection Point
 .
.
The Sketch tools toolbar now displays values for defining the projection mode.
Two projection mode options are available:
Orthogonal Projection is the default mode.
Orthogonal Projection
-
Select Orthogonal Projection
 .
.
-
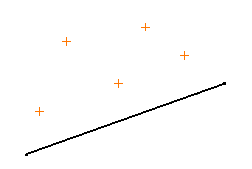
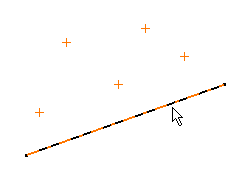
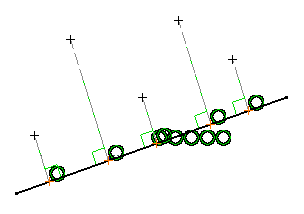
Select several points.
-
Select the spline.
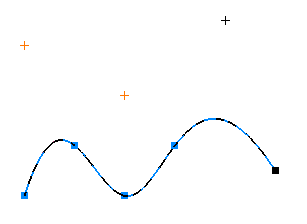
All the selected points have been projected onto the curve according to a normal direction at this curve.
Projection Along a Direction
-
Select Projection Along a Direction
 .
.
-
Select one point.
-
Select the spline.
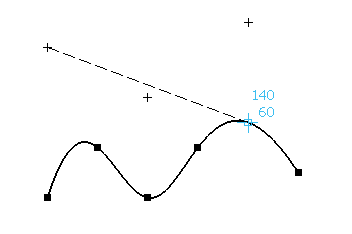
The selected point is projected along the given direction.