-
Click Spline
 from the Profile toolbar.

-
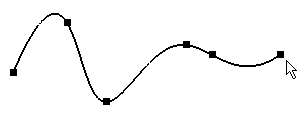
Click in the geometry to indicate the points through which the spline goes.
-
Double-click the last point you have created to finish the spline creation. (Clicking again on Spline
 or another command also ends the spline creation.)


- Keep in mind that using the displayed Sketch tools toolbar also allows creating a spline. In addition, two constraints will be created (H and V).
Modifying the spline control points
-
Double-click the control point you wish to edit.
The Control Point Definition dialog box appears.
-
Enter new coordinates. For example, v: 9mm (vertical).
-
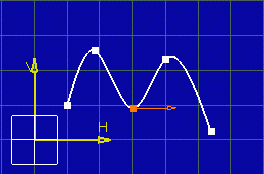
Check the Tangency option to impose a tangency on this control point. The point is moved and an arrow appears on this point to indicate a tangency.
You can invert the tangent direction clicking the Reverse tangent button. -
Click OK.

Tangents can be constrained.
![]()