This task shows you how to trim two or more surface or wireframe elements.
Open the Trim1.CATPart document.
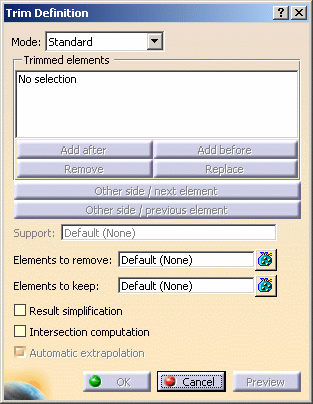
Standard
-
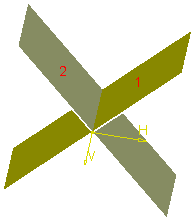
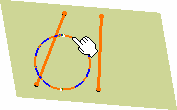
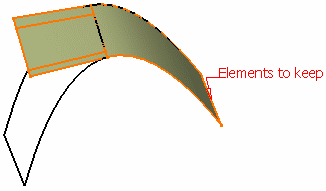
Select the two surfaces or two wireframe elements to be trimmed.
A preview of the trimmed elements appears and the list of trimmed elements is updated: 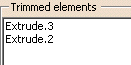
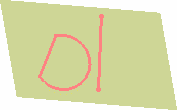
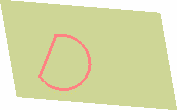
You can change the portion to be kept by selecting that portion: 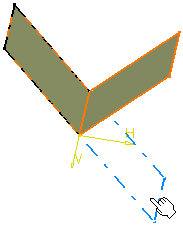
-
Click OK to trim the surfaces or wireframe elements.
The trimmed feature (identified as Trim.xxx) is added to the specification tree. 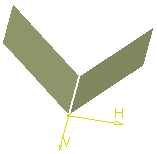
You can also select the portions to be kept by clicking Other side / next element or Other side / previous element . 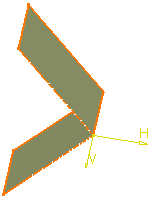
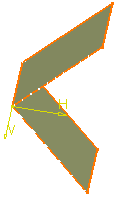
Clicking Other side / next element Clicking Other side / previous element
Selecting a Support
This is especially recommended when trimming a closed wire.
 |
 |
|
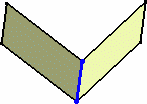
 |
 |
|
| Resulting trimmed element without support selection | Resulting trimmed element with support selection |
Keeping or Removing Elements
- Click in the field of your choice to be able to select the elements in the 3D geometry.
- Right-click in the field either to clear the selection or display the
list of selected elements.
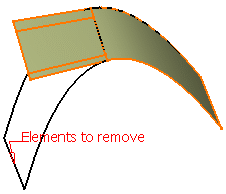
Only the selected portion is removed.
All other elements are keptOnly the selected portion is kept.
All other elements are removedYou can also select a point to define the portion to keep or to remove. A contextual menu is available on the Elements to remove and Elements to keep fields. 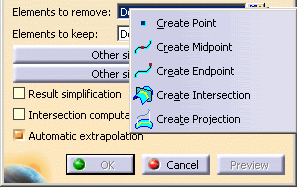

- You do not need to select elements to keep if you already selected elements to remove and vice-versa.
- Avoid trimming geometry when the
intersection between the trimmed elements is merged with an edge of
one of the elements.
In that case, you can use Elements to remove and Elements to keep to remove the position ambiguity. - In case the intersection between the elements is not connex, an error message may be issued prompting you to choose the elements to be kept or not.
Simplifying the Result
Trimming A Surface When The Intersection Is Not Connex
 |
In this case, use the Elements to remove and Elements to keep options.
Intersecting and extrapolating
- Check Intersections computation to create an aggregated
intersection when performing the trimming operation. This element will be
added to the specification tree as Intersect.xxx.
- Uncheck Automatic extrapolation if
you do not want the automatic extrapolation of the elements to trim.
If the Automatic extrapolation option is unchecked, an error message is issued when the elements to trim need to be extrapolated, and the latter are highlighted in red in the 3D geometry. 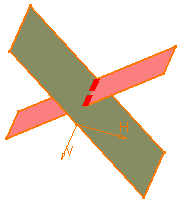
To be able to trim the two surfaces or wireframe elements, check Automatic extrapolation. 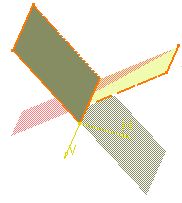
The following capabilities are available: Stacking Commands and Selecting Using Multi-Output.
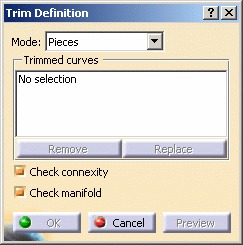
Pieces
This mode is only available with curves.
-
Select the elements to be trimmed, as shown below:
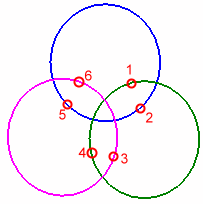
A preview of the trimmed elements appears and the list of trimmed curves is updated: 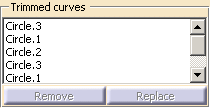
You can deselect a sub-element by selecting it again. -
Click OK to trim the curves.
The trimmed feature (identified as Trim.xxx) is added to the specification tree. 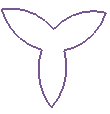
If you modify the portion of a curve (for instance, cutting or extrapolating), the numeration is liable to change as there may be more or less intersections. As a consequence, the result may differ.
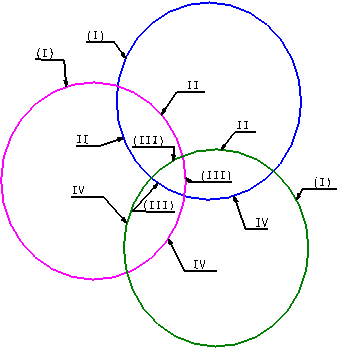
Check Check connexity to find out whether the curves to be trimmed are connex. If they are not, and the option is checked, an error message is issued indicating the number of connex domains in the resulting trimmed feature.
The resulting feature is highlighted, and helps you detect where the trimmed feature is not connex.Check Check manifold to find out whether the resulting trimmed feature is manifold.
Use Remove and Replace to modify the elements list.
The following capability is available: Stacking Commands.
- At creation, when you switch from one mode to the other, the list of selected elements is automatically reinitialized.
- You cannot modify the mode at edition.
- For detailed information of how to trim a closed surface or curve by two connex surfaces or curves, refer to Splitting Geometry.
![]()