This task shows how to tile layout images.
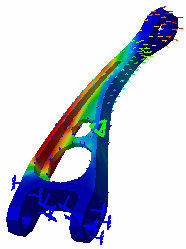
Generated images corresponding to analysis results are superimposed into one image that cannot be properly visualized. You can tile these superimposed images into as many layout images on the 3D view.
Open the sample26.CATAnalysis document from the samples directory.
-
Make sure at least two images were created and activated. To know more, refer to Activating / Deactivating Images.

-
Click Images Layout
 .
.The Images Layout dialog box appears.

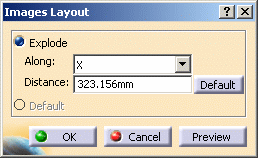
- Explode:
- Along: lets you specify the axis (X, Y or Z axis) or the plane (XY, XZ or YZ plane) along which you want to explode the image visualizations.
- Distance: lets you specify the distance between
two images.
The Default button lets you retrieve an optimum Distance value.
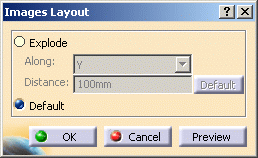
- Default: lets you retrieve the default superposed
visualization.

The Default option is only available if you have already explode the image visualization.
- OK: click this button to take the modifications into account, perform the modifications and close the dialog box.
- Cancel: click this button to cancel the modifications you performed.
- Preview: click this button to preview the modifications you performed.
- Explode:
-
Select the Y axis and enter 100mm as Distance value.
-
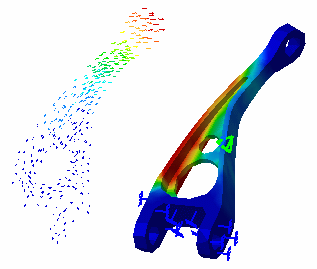
Click Preview in the Images Layout dialog box.
The images are tiled along the Y axis.

-
Select the Default option in the Images Layout dialog box as shown below:

-
Click OK in the Images Layout dialog box.
You retrieve a superimposed visualization.
- You can animate one or more of these images, if desired.
- Be careful: the cutting plane will cut all the images.
![]()