![]()
Welcome to Help ![]()
Using this Help facility you will be able to get information on using the PC PartnerInfo Web Browser CD. By selecting a topic from the Table of Contents on the left hand side of this screen you will be taken directly to information on that topic. You can click here to start reading the help information from the top.
Navigating
Navigating in the PC PartnerInfo Web Browser CD is easy. The window is split into 2 areas:
1. Menu Bar
2. Document Area
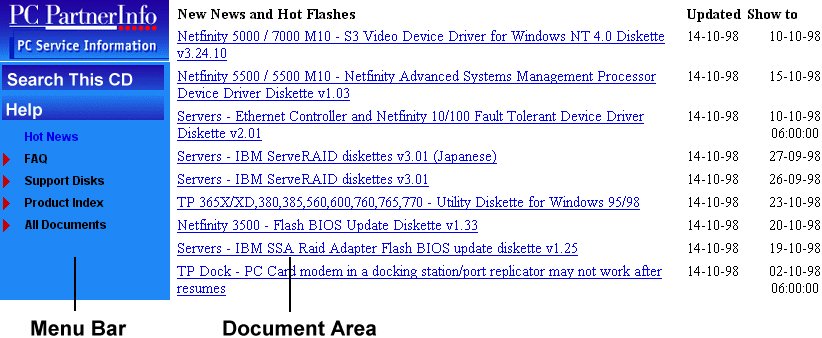
The Menu Bar is located in the left side of your browser window. It stays on your screen all of the time. It is split into two sections - Functions and Views
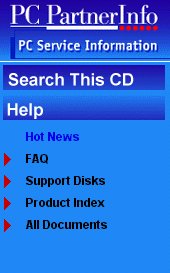
A) Functions include Search and Help
Search
- Selecting the search action will allow you to search through
the data held on the CD for a specific document.
Help
- Help provides guidance on how to use this CD.
You can use the back facility in your browser to go back to the previous document that you were in. To leave the PC PartnerInfo Web Browser CD, simply close down your Browser.
B) Views allow you to choose which view of the data you wish to look at. The views with "twisties" - the red triangles - expand, such as, and you can click on the sub menus to give you more specific views, such as by Brand and then by Thinkpad.
The Document Area
The Document Area is the Area on the right hand side of your screen. This changes as you make selections from the Menu Bar or if you make a selection from a Search result. If you have selected a submenu from a view a list of documents will appear in the Document Area.
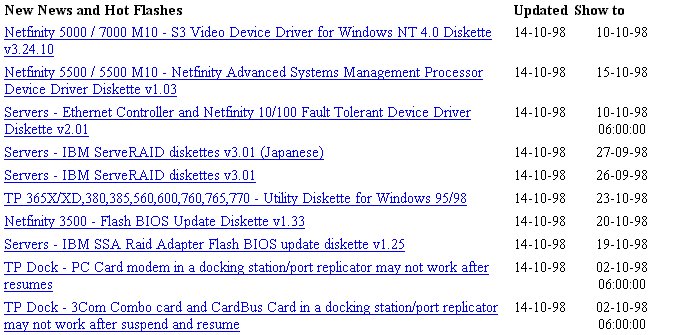
You can then click on a document and it will replace the list, like the example below.
Detaching Files ![]()
The three graphics below, will help you understand the detach proceedure
This graphic is shown when you
need to shift the CD, since the selected file is found on another
CD.
The graphic will show you which CD to insert.
![]()
This graphic is shown when the
selected file is found on the CD.
Click on the graphic to detach the file.
The order to use the Menu Bar and Search facilities after detaching files, Web Library Navigator CD needs to be inserted.

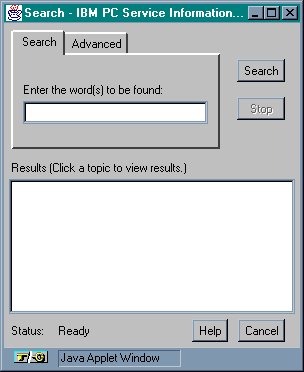
Clicking the Search function button, causes a new window to open.
The window consists of of three clickable tags (Search, Topics, Advanced), a text entry box, a results box and buttons for Search, Stop, Cancel and Help
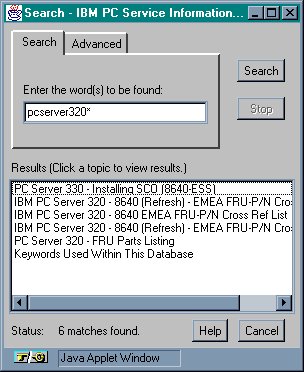
Search Word Rules
Searching for pcserver320* gives 120 hits
Then searching pcserver320* power* gives 37 hits
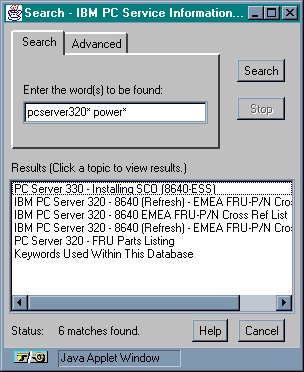
Finally searching for pcserver320* power* raid* gives 18 hits
You can also search for a phrase by enclosing the phrase in " ",
Case does not affect the search results.
Using the * can help increase the amount of hits you get.
b*os would get hits on bios
b*s would get hits on books and bios
After the search is completed, a list of matches will be shown in the results area. Selecting a match will display the document in the Document
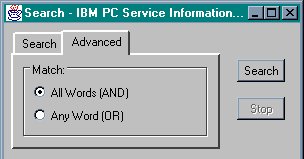
Advanced Options
The option on this page allows you to specify how the words entered in the text field of the search page are to be treatedwhile searching. If AND is selected, every word specified in the text field must be found for the page to be considered a match. If OR is selected, any word from the list found can be considered a match. The default condition is AND.