After SCSI Installation (3545)


After SCSI Installation

Run the diagnostics after you have completed your SCSI device installation to verify that the installation works correctly. Do the following:
  1.  Power-off the computer and external SCSI devices.  Insert the Dock I Option Diskette into drive A.
  2.  Power-on all attached external SCSI devices,  then power-on the computer.
  3.  In the main menu, select Diagnostics, then select Test SCSI subsystem.
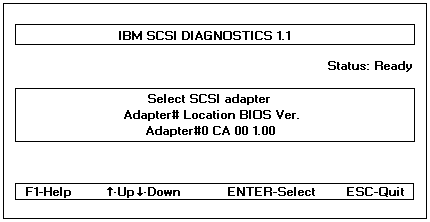
  4.  The following screen appears.

    NOTE:   In this screen, SCSI controller of the Dock I, appears as Adapter 0.
     
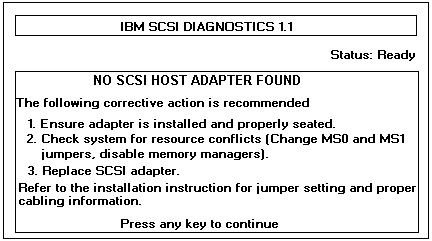
    NOTE: If the following screen appears instead of the one in  Figure 2, check that the SCSI devices are correctly installed.  If the problem still occurs, the main board has a failure.  Ignore the actions in this screen message.
     

  5.  Press Enter.
  6.  After the following message appears:
      Scanning SCSI Bus for Devices
     The screen changes to:
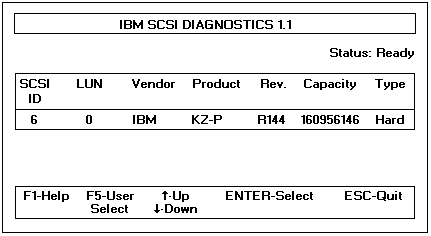
     
     Continue with the following.


Selecting a SCSI Device Test

The first SCSI device in the list with the lowest SCSI ID is highlighted.
  1.  Select the device to test with the cursor  and press Enter.

  2.  To select a test option, type the number in  the Enter Selection field and press Enter.


Back to  Jump to TOP-of-PAGE

Please see the LEGAL  -  Trademark notice.
Feel free - send a Email-NOTE  for any BUG on this page found - Thank you.