Configuring SSA Subsystems
Configuring SSA Subsystems
Before new SSA disk drives can be used by the operating system, you must configure them into
the SSA subsystem. You use the configuration utility (which is provided on each of the diskettes
supplied with the adapter) to do this. The actions that you must perform are:
- Accept the new disk drives into the subsystem
- Configure disk arrays, if required
- Attach the disk arrays or individual disk drives to your system.
The following sections describe the details of these actions.
Running the Configuration Utility
- If the operating system is running, start the SSA Configurator and Service Aids Utility
by selecting the icon that was generated when the software was installed, or by running the
ISSACFG program.
If the operating system is not running, run the stand-alone DOS SSA Configuration Utility
(ISSACFG).
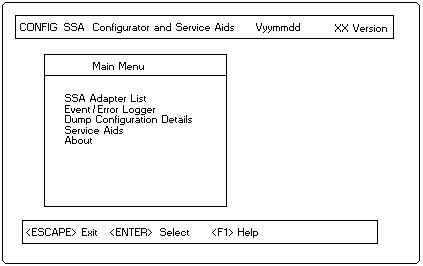
- The Main menu is displayed.
NOTE: Under some adapter error conditions, the configurator is not loaded, and an error message
is displayed.

To choose an item from a configurator-utility menu, use the arrow keys to move the highlighting
to that item and press the appropriate key, for example, press Enter to select that item,
To move to the previous menu, press Esc.
Help is available for every menu, press F1 to reach it.
Accepting New Disk Drives
To accept new disk drives into the SSA subsystem:
- From the SSA Main Menu, select SSA Adapter List.
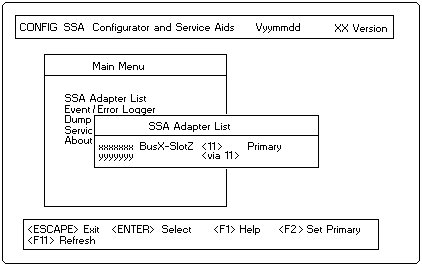
- A window opens containing a list of the SSA adapters in the systems on which you are working:

In this list, select one of the adapters to which the new disk drives are attached.
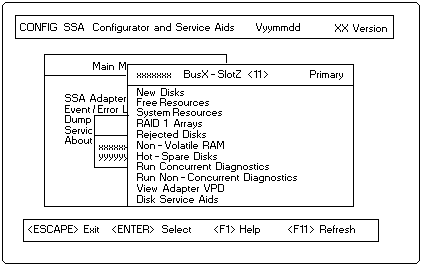
- The following window opens:

Select New Disks.
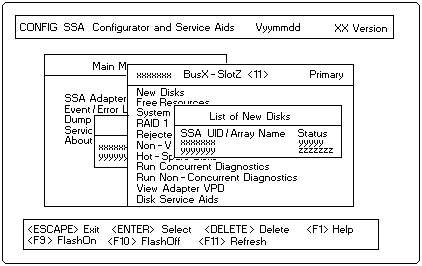
- A window opens containing a list of all the disk drives not previously used on this type of adapter:

In this list, for each disk drive that you want to configure into your SSA subsystem, highlight
its name and press Delete. At the prompt, confirm the deletion.
Its name disappears from the list, it is now in the free state.
You can return to the menu for this adapter by pressing Esc.
You can display a list of all the disk drives that are in the free state by selecting Free Resources
in the adapter menu.
You can define disk drives that are in the free state as members of an array,
'Creating an Array' describes how to do this.
Alternatively, disk drives can be accessed individually, for such disk drives, go directly to
'Attaching Resources' for instructions on attaching them to the system.
Also, disk drives can be defined as hot spares. 'Defining a Hot Spare' describes how to do this.
Back to 
Please see the LEGAL - Trademark notice.
Feel free - send a  for any BUG on this page found - Thank you.


 for any BUG on this page found - Thank you.