
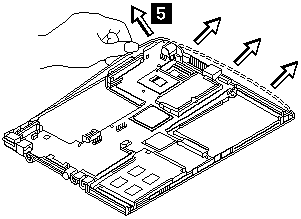
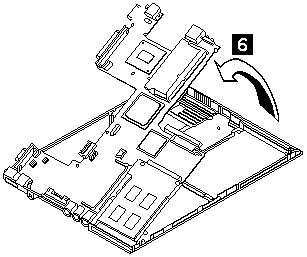
System Board
Please see the LEGAL - Trademark notice.
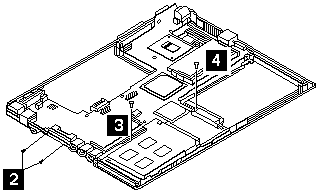
Step
Size (Quantity)
Head & Color
Torque
1
M2.0 x 4 (5)
Flat head, black
2.5 kgf-cm
2
M2.0 x 6 (2)
Flat head, black
2.0 kgf-cm
3
M2.0 x 4 (1)
Flat head, black
2.0 kgf-cm
4
M2.0 x 8 (1)
Flat head, black
2.0 kgf-cm
Note: Make sure you use the correct screw for replacement.
Back to ![]()
Feel free - send a  for any BUG on this page found - Thank you.