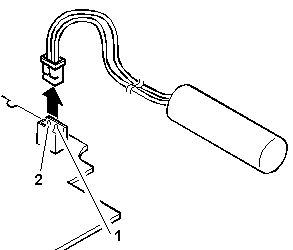
Measure the output voltage at the connector on the voltage converter.
| Pin |
Voltage (Vdc) |
| 1 |
+4 |
| 2 |
Ground |
- If the voltage is less than +4 Vdc, replace the voltage
converter.
- If the voltage is more than +4 Vdc, go to the next step.
Power-off the computer and unplug the AC adapter cable
from the computer.
Reconnect the standby battery to the voltage converter.
Plug the AC adapter cable into
the computer and power-on the computer.
Allow approximately 30 minutes for the standby battery to charge.
Power-off the computer and unplug the AC adapter cable from the
computer and remove the standby battery.
Measure the voltage of the standby battery.
- If the voltage is less than 3.5 Vdc, replace the standby battery.
 for any BUG on this page found - Thank you.