Defining Filters for a Specifications Catalog
| This task shows you how to define filters for a specifications catalog. | ||
| This task is meant for
use with the manual procedure for
creating/modifying a specifications catalog. A specifications catalog allows you to specify which parts can be used for a certain project or part of a project. When you create a specifications catalog you specify what part types you want to use. When you define a filter you refine the search further and specify what properties you want these part types to have. You must first define directory paths as described in Understanding Project Resource Management. |
||
| 1. | Open the specifications catalog
for which you want to define a filter.
|
|
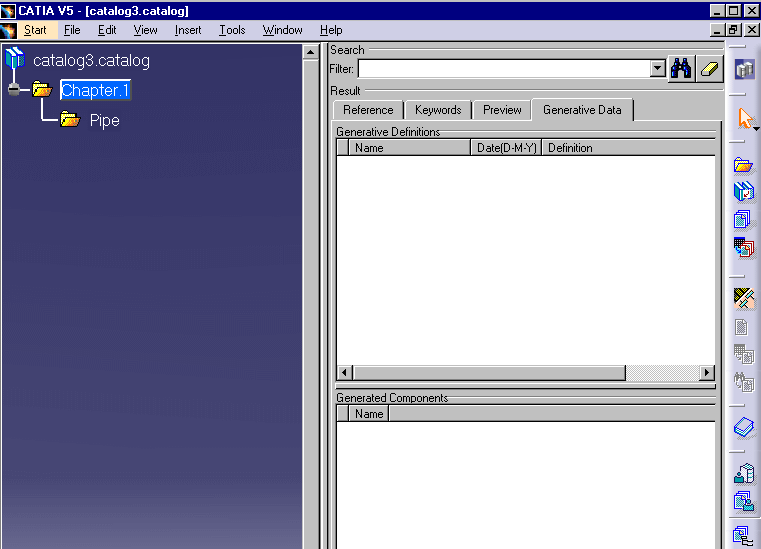
| 2. | Select the Generative Data tab if it is not selected. You will see two windows, Generated Definitions and Generated Components. | |
| 3. | Select the part type (double click)
for which you
want to define a filter and click the Add Catalog Resolved Filter
Components button
|
|
| 4. | Enter a filter name in the Name field if you want to change the default name. | |
| 5. | In the Reference Catalog field enter the path to the part catalog from which you want to search for parts ( or browse to it). | |
| 6. | Click the Filter button
|
|
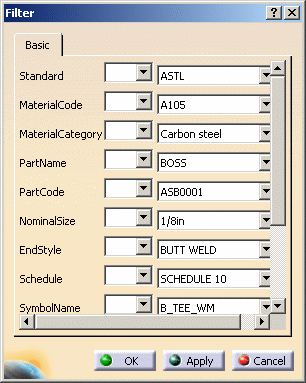
| 7. | Enter the values for the part
type. These are the values for which the specifications catalog will
search in the main catalog. Depending on how your system administrator has
set up the application, some fields may display drop down boxes from which
you select a value, rather then entering them in the field.
The first column contains the operators. Some operators are straightforward, such as those under WeighDry, where they mean Greater Than etc.
Some others look like this:
Click OK. |
|
| Once you click OK your values will display in the Filter field of the Filter Definition box. Do not edit these values in this field. It is possible to do so, but only if you follow the exact convention observed. It is safer to change the values in the Filter dialog box. | ||
| 8. | Click OK again in the
Filter Definition box. Your filter will be created and will display in the
Generative Definitions
window.
|
|
![]()


