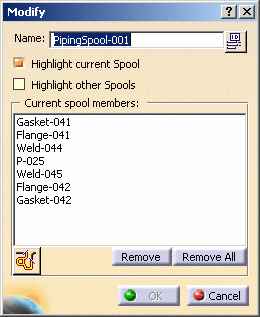
- You can redefine the range of
the spool by clicking the Define range
button
 . The
Analyze Network dialog box displays. Under the
Path tab the range is
undefined. Proceed in defining the range as described in
Creating
a Spool. Select the beginning and end of the spool to
include the new members.
. The
Analyze Network dialog box displays. Under the
Path tab the range is
undefined. Proceed in defining the range as described in
Creating
a Spool. Select the beginning and end of the spool to
include the new members.
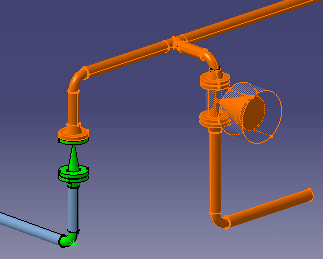
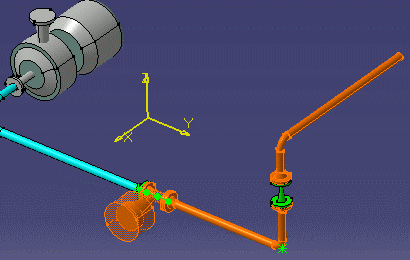
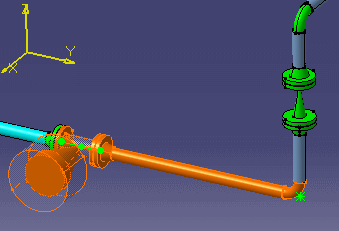
- Click on the part you want to add, in the 3D viewer. The part will be added to the spool. If a part cannot correctly be added to a spool - if it is not contiguous to the spool for instance - you will not be able to select it.