 . You can use it to move the
access plate to another surface - click the location. If you do not want to
move the plate to another surface then click the surface it is on. The
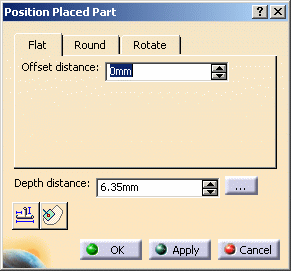
Position Placed Part dialog box displays after you have repositioned
the access plate or selected the same surface.

 Enter a
value or use the Up and Down arrows. The access plate is repositioned.
Enter a
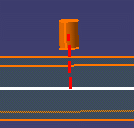
value or use the Up and Down arrows. The access plate is repositioned.Distance form the top of the access part to the centerline of the duct. You can enter a different value to raise or lower the access part. In the image below the part has been raised, to show you the effect.

You can position the part just beneath the surface of the duct. In this case the Depth Distance field displays the thickness of the duct surface. You can enter a value to raise or lower the part.

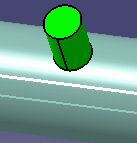
You can position the part level with the surface of the duct. In this case the Depth Distance field displays 0 distance. You can enter a different value to raise or lower the part.


Radial: Select this option and change the value in the Angle field to reposition the part along the circumference of the duct.


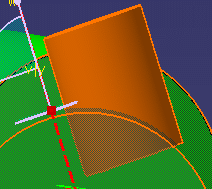
Normal: Select this option and change the value in the Horizontal Offset field to move the part horizontally. The part will not 'rotate' around the duct - it will only move horizontally. This also means that in order to retain contact with the duct a portion of the part will 'sink' into the duct as it is moved.


![]()