Displaying Flow Direction
|
|
This task shows you how to display the flow direction. | |
|
|
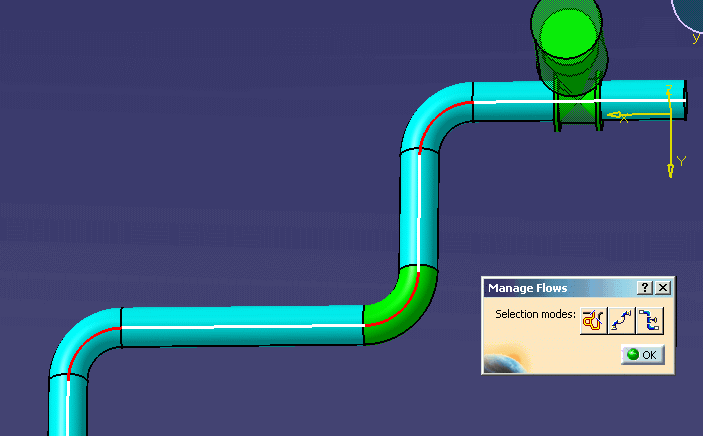
1. | With your document open, click the
Manage Flows button
|
| 2. | Click one of the buttons in the
Manage Flows dialog box to set the selection mode. You can set
the flow for:
|
|
| 3. | Click the Select Elements in
Range... button
Select the first and last objects in the range to display its flow. Make sure you select the part, not just the run. The objects you select display in the Analyze Networks box in the From Object and To Object fields. |
|
| 4. | Click Close in the
Analyze Networks dialog box.
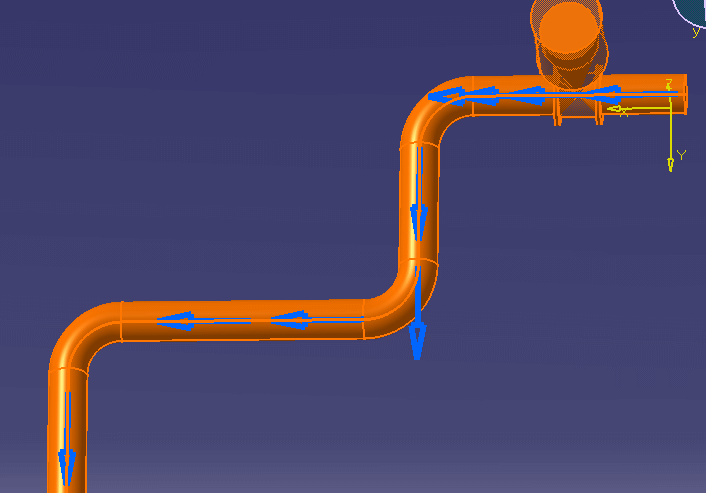
You see the flow direction display in your document. The Flow Options dialog box also displays.
You use the Flow Options dialog box to change flow direction as explained in Changing the Flow Direction. |
|
| 5. | To display the flow direction of a
spool, click the Select Spools... button
|
|
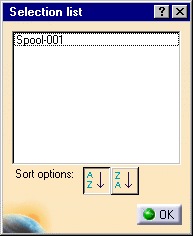
| 6. | Select a spool and click OK.
The flow direction displays on the spool you selected, and the Flow Options dialog box displays. |
|
| 7. | To see the flow direction of all
members of a line ID, click the Select Line ID... button
The flow direction displays on all members of the line ID, and the Flow Options dialog box displays. |
|
|
|
||


