This task is made up of the following stages:
Editing a Sketch
-
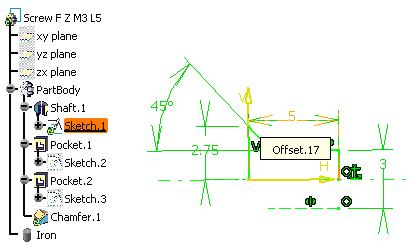
Double-click Sketch 1 to edit Offset.17.

-
For example, enter 8 as the new offset value.
-
Exit the Sketcher and if required, update the part.
Applying a New Color to the Part |
-
Right-click PartBody and select Properties.
-
Click the Graphic tab and set the red color for this new screw.
-
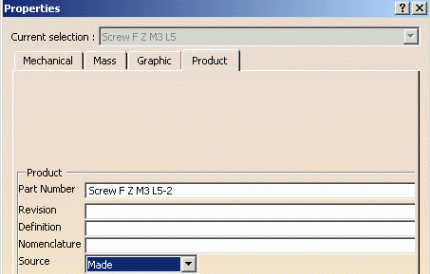
Right-click Screw F Z M3 L5 and and select Properties.
-
Click the Product tab.
-
Add -2 to the Part Number displayed, and set the Source field to Made.

-
Click OK to confirm these operations.
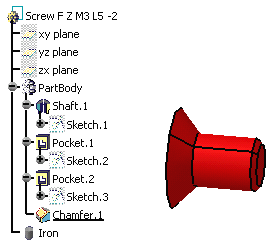
The new part now looks like this:
-
Click the Save icon
 or
select SmarTeam > Save.
or
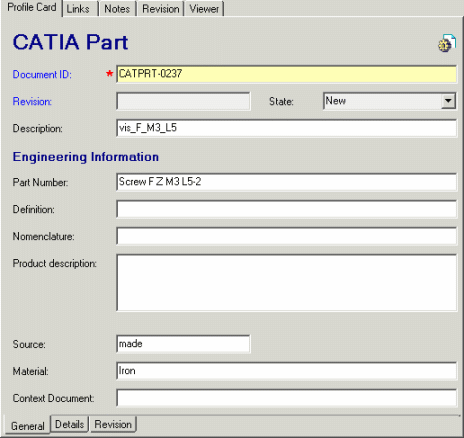
select SmarTeam > Save.This updates the database information related to the document: take a look at the part number as well as to the Source field.

Applying a Material to the Part |
-
Back in CATIA, select the part in the specification tree.
-
Click on Apply Material
 .
. -
Select the Metal tab from the dialog box that appears, then select Steel as the new material to be applied to the copy.
-
Select the OK button.
The material is now applied to the part.
Saving CATIA Properties in SmarTeam |
-
Click the Save icon
 or select SmarTeam > Save.
In the displayed SmarTeam: Documents window, you can see that the Material field now shows the name of the selected material (Steel).
For more information on how to work in the Part Design workbench, see the CATIA - Part Design User's Guide Version 5.