![]()
|
|
This task shows you how to position a branch routable precisely. . . . . | |
|
|
This function allows you to use
the Offset Plane
|
|
| The two routables must be connected for the function to work. | ||
|
|
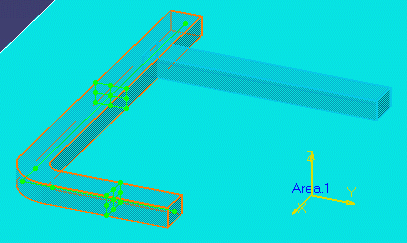
1. | Select the Main routable and
click the Offset Plane button. The Main will display
nodes at the beginnings and ends of
segments and a square (section detail) in the center of segments.
|
| 2. | Move the mouse pointer to the Main Routable - a
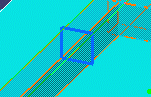
white square shows. Snap the white offset plane square to any of the nodes
or section detail squares and click the left mouse button. A blue square
will appear. See
Using Offset
Planes for more information.
|
|
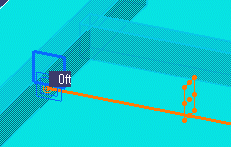
| 3. | Click the right mouse button on the Branch. In the menu that displays, select the line that corresponds to the Branch element, in this case path reservation2 object, then click Definition in the pop-up menu. This displays the Definition dialog box. | |
| 4. | Click and drag the support line toward the blue
square. A label will display the distance. Release the button when it reads
0 ft and click OK on the Definition
dialog box. The Branch path reservation will assume the new position.
|
|
|
|
To place a routable at a precise
distance from an end or a node, snap the offset plane to that node or end.
Then enter the distance in the step input box.
|
|
|
|
||