|
-
Click Hole
 . .
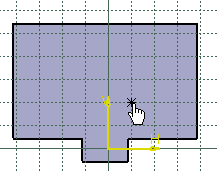
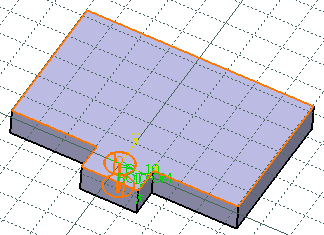
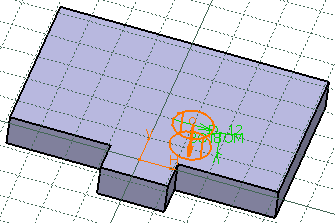
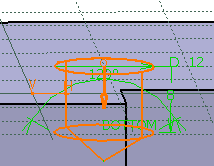
Click the surface where you want to place the hole.
A grid is displayed to help you position the hole. |
 |
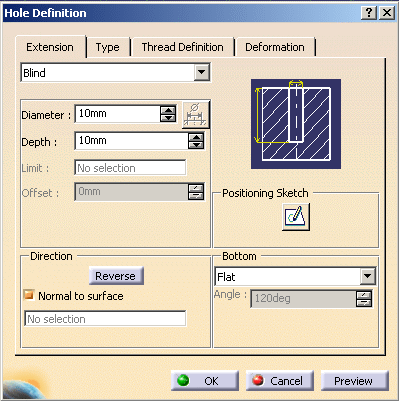
| The Hole definition dialog box is displayed, providing default
values. |
 |
-
In the Extension tab, choose a bottom limit for the
hole.
-
Use the up and down arrows to specify the values as
needed.
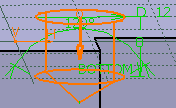
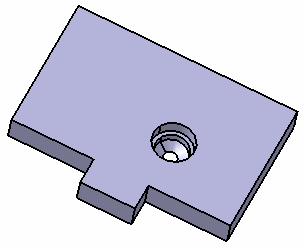
| In our example, we kept the Blind option with a diameter of
12mm and a depth of 8mm. |
-
Should you need to change the position of the hole on
the surface, click Positioning Sketch
 . .
| The Sketcher workbench opens and a point representing the
hole's position is displayed on the surface. |
 |
-
Move the hole on the surface according to your needs.
-
Exit the Sketcher workbench.
| The hole is positioned according to your settings. |
 |
-
Keep the direction Normal to surface to create the hole
normal to the sketch face.
| If you want to create a hole not normal to the sketch face,
click to clear Normal to surface and select a line, an edge or a
plane in the contextual menu of the field. |
| Refer to the
Hole description in Part Design User's Guide for more
information. |
-
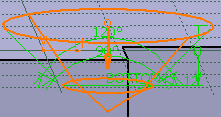
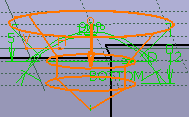
Choose a bottom type for the hole.
|
|
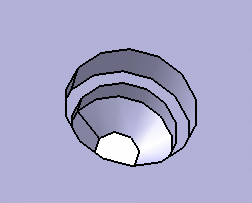
| In our example, we selected a V-bottom of 120 degrees. |
 |
-
In the type tab, select the type of hole you wish to
create.
-
Use the up and down arrows to specify the values as
needed.
| In our example we chose a counterbored hole of 15mm diameter
and 5mm depth. |
-
In the Thread Definition tab, click Threaded if you
wish to create a threaded hole.
-
Use the up and down arrows to specify the values as
needed.
 |
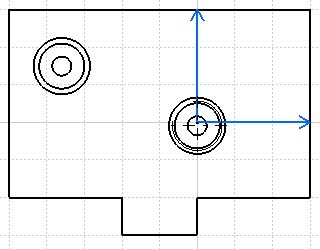
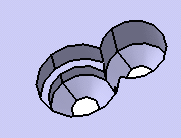
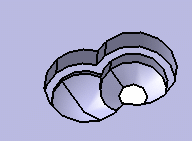
You cannot differentiate a threaded and a
non-threaded hole on the wall. |
| In the example below, the hole on the
right is threaded when the hole on the left is not. |
 |
 |
A threaded hole is visible only:
|
|
|
To display threaded holes on a drawing, make sure
Generate Threads is selected in the Drafting settings.
To do so, go to Tools->Options,
Mechanical Design, Drafting, View tab. |
|
 |
|
Refer to
Creating Threaded Holes in Part Design User's Guide for more
information. |
-
Click OK to create the hole.
|
|
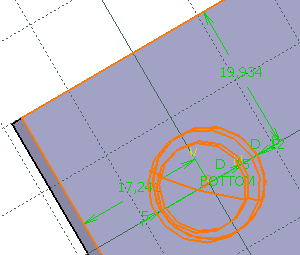
You can constrain the hole's location when creating it. |
| |
- Select two edges on the wall and click Hole
.
- Click the surface where you want to place the hole.
Constraints defining the distances between the hole's center and
the edges are displayed.
- Click OK to create the Hole.
|
| |
Refer to
Locating Holes in Part Design User's Guide for more information.
|
 |
|
|
|
You can create a cylindrical hole in
creation and dual view by checking No Deformation option in
Deformation tab.
-
The hole point positioning must be:
- located on sheet
- associative with selected surface
Moreover the hole direction must be
normal to selected surface.
-
Hole should not cut separately more
than one face.
|
|
|
- The hole can be created only on a planar and single support
surface (i.e. a wall or the planar face of a flange). It can
also be created on a cylindrical bend.
- May you want to create a hole on an overlapping element or a
bend with radius=0, either choose the top skin of the element, or
unfold the part to create the hole.
- You cannot create
- a hole on a bend or a surface flange.
If you try to, a warning is displayed and the Circular Cutout
definition dialog box opens so that you can create the hole on a
bend or a flange.
- a feature built by thickening on a hole.
- You can create
- a hole on a hole;
- a hole on a half-height hole;
- a hole on a pocket.
|
|