-
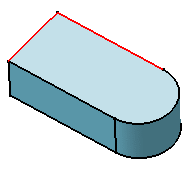
Multi-select both edges as shown and the upper face which is the face on which you wish to position the hole.
-
Click Hole
 .
.
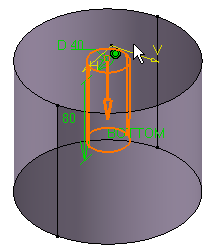
The preview displays two constraints defining the distances between the hole's center and the edges. -
Define the parameters in the dialog box to create the desired hole (see Creating Holes).
The application previews the constraints you are creating. -
To access the constraint values, double-click the constraint of interest. This displays the Constraint Definition dialog box in which you can edit the value.
-
Click OK to create the hole.
The application positions the hole using constraints.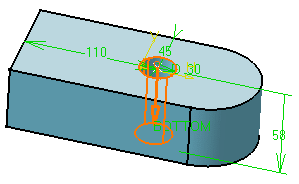
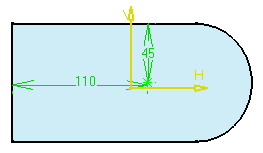
The alternative way of accessing the constraints consists in double-clicking the sketch in the specification tree to enter the Sketcher workbench. You can then edit the constraints if you wish to reposition the hole.
Remember That...
- The area you click determines the location of the hole, but you can drag the hole onto desired location during creation using the left mouse button. If the grid display option is activated, you can use its properties.
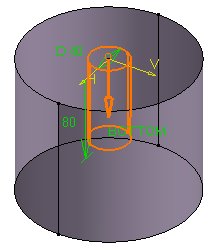
- Selecting a circular face makes the hole concentric with this face.
However, the application creates no concentricity constraint.
- Multi-selecting a circular edge and a face makes the hole concentric
to the circular edge. In this case, the application creates a
concentricity constraint.
- Remember that the Sketcher workbench provides commands to constrain the point used for locating the hole. See Setting Constraints in the Part Design User's Guide.
- Selecting a line and a face positions the hole along the line.

Editing the line modifies the hole accordingly.

- Selecting an edge and a face allows the application to create one distance constraint. While creating the hole, you can double-click this constraint to edit its value.