-
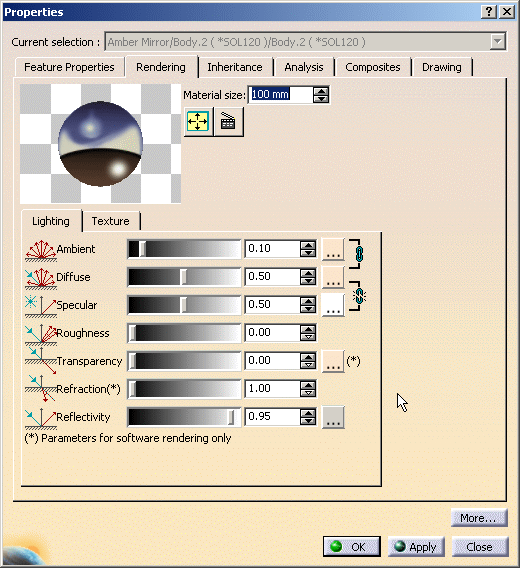
Right-click the mapped material (Honeycomb) in the specification tree and select Properties.
The Properties dialog box is displayed: 

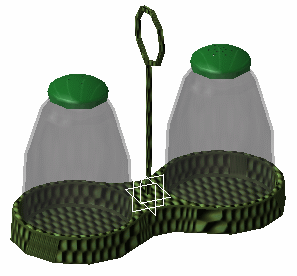
The mapping support (in this case a box support) appears in the geometry area. This will assist you later when you interactively position the material. -
In the Rendering tab, click the Lighting tab if not already active.
-
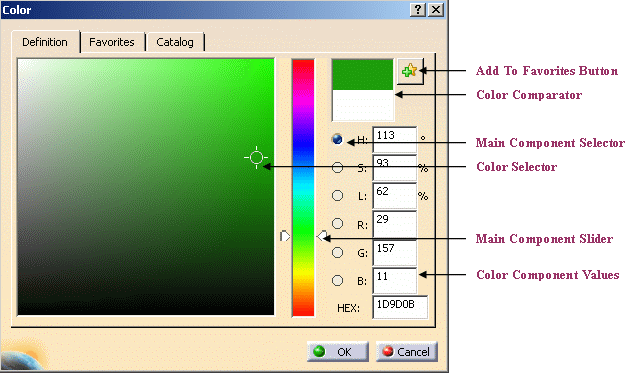
Change the color of the material to green:
-
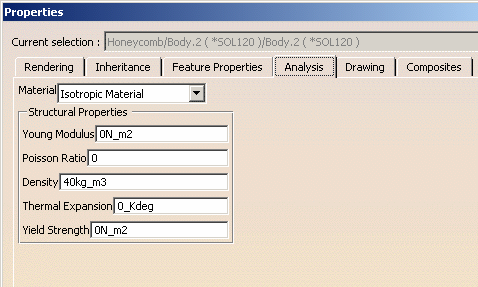
Change the material density:

- Click the Analysis tab in the Properties dialog box
- Key in a new density
- Click Apply.
Note: appropriate licenses are required to use these products.
-
Click OK in the Properties dialog box.
-
Right-click the mapped material in the specification tree and select Properties to modify more material properties.
For instance, you can change the material size (in the Rendering tab of the Properties dialog box) so that the texture shrinks in size relative to the part.

Now that you have finished, let's go to taking a closer look at the Real Time Rendering application!
![]()
