![]()
-
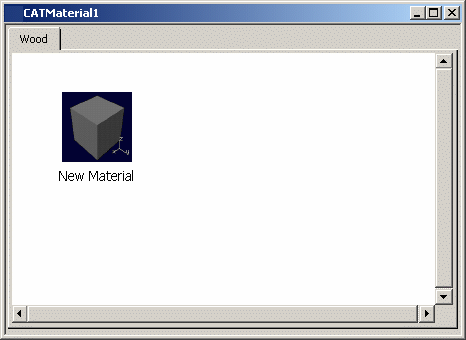
Click Rename Family
 to give an explicit name to the family.
The New Name dialog box is displayed. -
Key in a new name for the family, and click OK.

Here we called it "Wood":

-
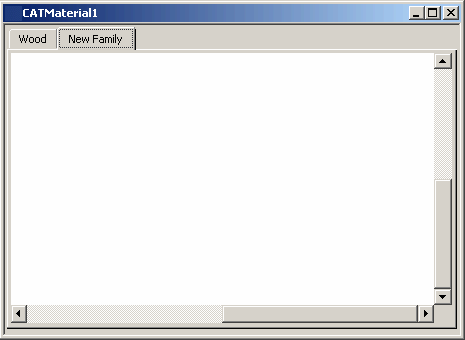
Click New Family
 to create a new family. A New
Family tab is displayed in the document.
-
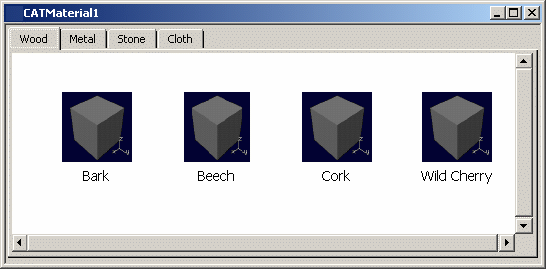
Repeat step 2 and 3 to create more families such as Metal, Stone, Cloth and so forth (you can copy and paste families).

At this point, none of the new families contain any material yet. -
Click the Wood tab to activate the wood family.
There is only the default material in this family so far. -
Select the material.
-
Click Rename Material
 to rename the material via the New Name dialog box.
 Let's call it "Bark". -
Click New Material
 to add material to this family.
You can add, and rename the Beech, Cork, Wild Cherry types of wood for example, and many more. 
Now that your library is defined, you need to modify each material to give it specific material properties. For more information on how to do so, see Modifying a Material.
![]()