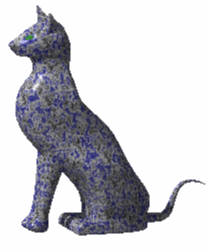
 |
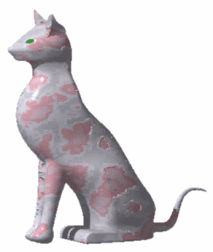 |
|
Rendered image with Blue Onyx |
Rendered image with Marble |
-
Right-click the Blue Onyx material in the specification tree then select Properties (or press Alt+Enter).
-
Access the Texture tab then select Marble in the Type list. You can also click the Ray Traced Preview
 button to display a preview of the material texture:
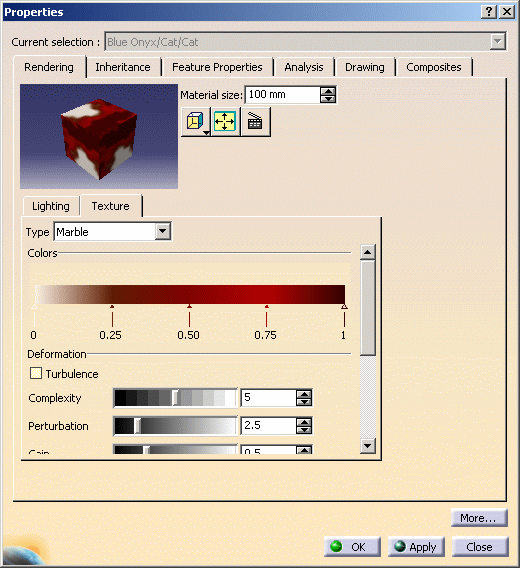
When a 3D texture is selected, the corresponding texture image is projected onto the object in the geometry area so that you can get a better idea of the final result: 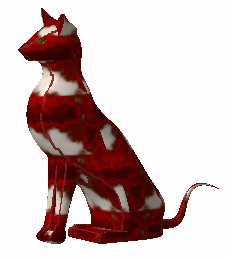
However, note that: - the projected image does not reflect exactly what you get when rendering the image
- the texture has a low resolution in order not to deteriorate performance and as a consequence, the image projected onto the object may sometimes be pixellised.

You can also choose a mapping type but do not forget that this mapping is relevant for real time display only, it has no impact when computing the rendered image.
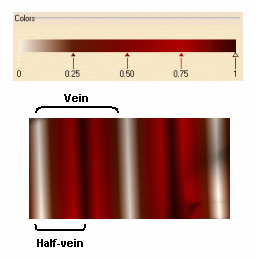
Refer to Mapping Types for detailed information.The color bar graduated from 0 to 1 defines the color interpolation for a half-vein, the four parts of this bar (0-0.25, 0.25-0.50, 0.50-0.75 and 0.75-1) representing one color width each.
-
To modify the lighting color effect of the half-vein, just click the desired arrow then drag it to the left or to the right to change the width of the corresponding color. You can also drag an arrow down to disable the corresponding color:
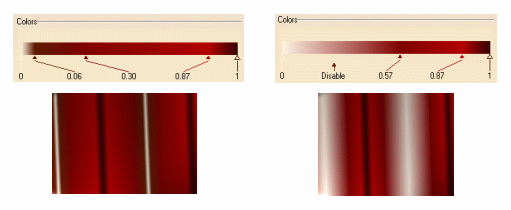
Note that double-clicking an arrow displays the Color chooser to let you select the desired color. -
The Deformation area lets you define noise parameters. Refer to Noise Parameters for detailed information.
-
The Bump area also lets you define an Amplitude value but this time, in order to create a "relief".
Bump textures consist of a lighting surface effect added to the object that locally modifies the geometric aspect of the basic object by means of an artificial perturbation of the normal.
You can use the slider or enter a coefficient value comprised between -10 and 10:
- 0 means no bump effect
- 10 means that bright colors appear above dark colors
- -10 means that dark colors appear above bright colors.
Let`s have a look at the samples below to get an idea of the various results you can obtain: 
-
Use the Transformation area to adjust the mapped texture:
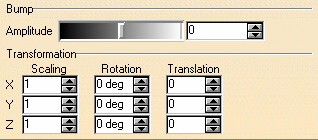
- Scaling: stretches the texture along X, Y, and Z axes
- Rotation: rotates the texture around X, Y and Z axes
- Translation: translates the texture along X, Y and Z axes.
-
Click OK when satisfied with your parameters.
Note: 3D textures created in a material library are identified by a specific symbol:
.
![]()