This task explains how to manage pictures when rendering a product.
Open the
Shooting.CATProduct document then click Shading with
Material
![]() in the View toolbar.
in the View toolbar.
-
Click the Render Single Frame
 button. The Rendering Output window opens and the processing
starts:
button. The Rendering Output window opens and the processing
starts: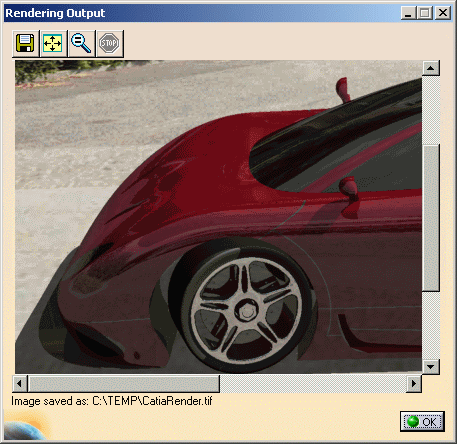

You can also click Quick Render  to render your image without defining specific shooting parameters.
 -
Click the Fit All In
 button in the View toolbar to zoom the current view out so
that the whole document fits into the available space in the viewer area
as shown below:
button in the View toolbar to zoom the current view out so
that the whole document fits into the available space in the viewer area
as shown below:
You can also zoom in or out the current view with your mouse. -
Click the Zoom
 button to display the image
with a zoom equal to 1.
button to display the image
with a zoom equal to 1.
By default, the image is saved as CatiaRender.tif in a temporary. If you want to modify the name and the default location, refer to the next task to learn how to save pictures.
![]()