We recommend that you choose names that indicate the final purpose of the pad or pocket as there may be several in a user component.
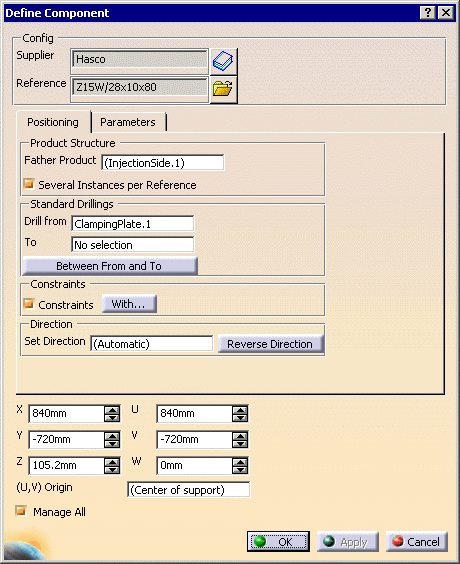
Pads and pockets are only applied to the element defined in the DrillFrom field of the Define Component dialog box.
These bodies will be used in the order they were created.
-
Open AddInsert.CATProduct in the samples/AddInsert directory.

-
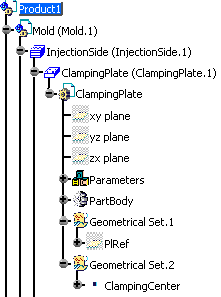
Expand the tree to show the contents of the clamping plate.

-
Click Add a user component
 and browse to select WearPlate_Z15W_1_1.CATPart in the
samples/AddRemoveMaterial directory.
 -
Position it on the top face of the clamping plate and Drill from ClampingPlate.1.


-
Click OK.
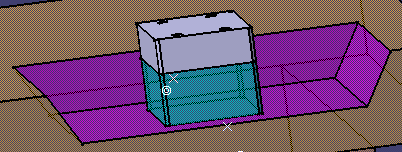
The violet area is the pocket where material was removed.
The green area is the pad where material was added.
 |
| Note that a Pad and a Pocket have been added to the ClampingPlate in the tree. |
 |
![]()