An insert is a particular type of component that has core/cavity properties, i.e. it can be pierced by coolant channels and can be attached by other components.
An insert may be placed either on the CavityPlate or the CorePlate .
-
Open AddInsert.CATProduct.
-
Select InjectionSide in the specifications tree and hide it (Hide/Show in the contextual menu).
-
Click Add Insert
 .
. -
When the dialog box is displayed, click the catalog button and select Pad with Chamfer and then Pad by double-clicking both times.
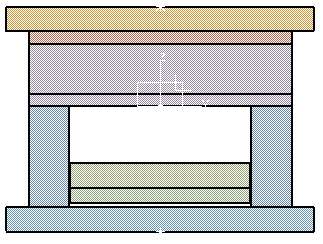
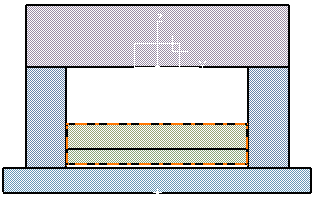
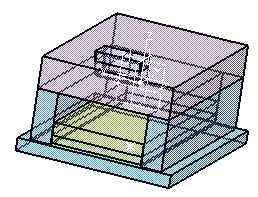
Then slightly pivot the mold so that you can see the underside of the CorePlate. Pick this surface. -
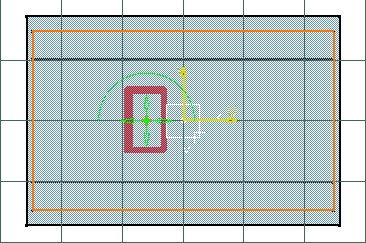
Click a little to the left of the center of the surface to locate the pad.
-
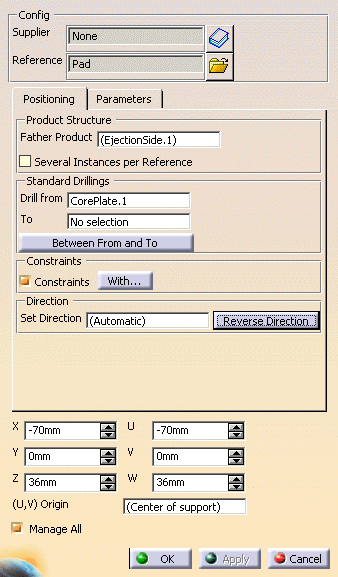
In the dialog box, type a value of 36 for Z and Drill from the CorePlate.
-
The parameters tab lets you modify the height, width and length of the pad and also the draft angle and chamfer size. For this exercise we are going to leave them unchanged.
-
Change the Active Instance Origin data to comply with that in the above dialog box.
-
Click Reverse Direction if necessary.
-
Click OK. The insert is created.
![]()