 |
This task shows you how to create
a machining pattern on machinable features. |
 |
You can make use of the features created in
the Globally Create All Prismatic Machinable
Features task. |
 |
1. |
Select the Pattern Creation icon
 .
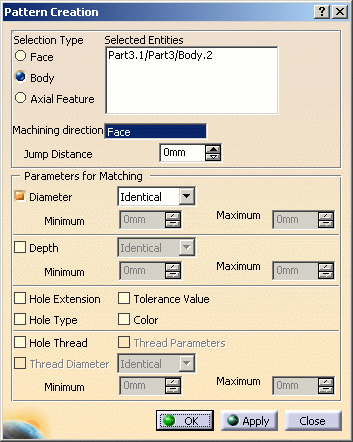
The Pattern Creation dialog box appears. .
The Pattern Creation dialog box appears. |
| |
2. |
Set Selection Type to Body
then select the part in the 3D view. The pattern creation will take the
associated Body object into account.
 |
|
2. |
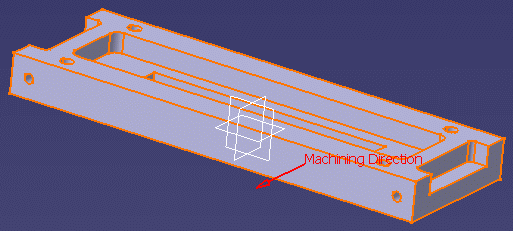
Click the Machining direction field, then select
a geometric element to specify the machining direction (for example,
selecting a face as shown means that the machining direction will be taken
perpendicular to that face).

Only those axial machinable features in the specified machining
direction will be taken into account for the pattern. |
| |
3. |
Click OK to create the machining pattern.
You can use the Sort by Patterns contextual command to check
that the pattern is added to the Manufacturing View.

|
|
4. |
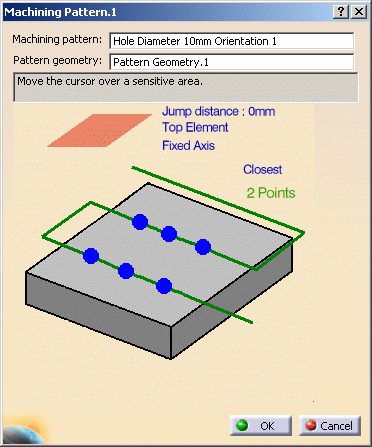
Double-click the pattern identifier to display the
Machining Pattern dialog box.

|
|
|
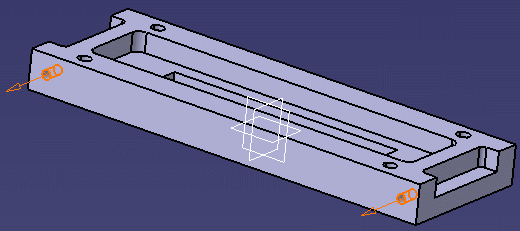
The pattern is visualized in the part:

|
 |
|
Selecting the Color check box allows you to create hole
patterns by matching color of holes. Refer to
Pattern Creation with Color Criteria
for more information. |
|
 |


![]()