- Design views: views in which you design and whose content can be visualized and output in 3D context.
- Isometric views: views visualized only in the 2D Layout for 3D Design workbench (not in a 3D window).
Design views
Primary Views |
|
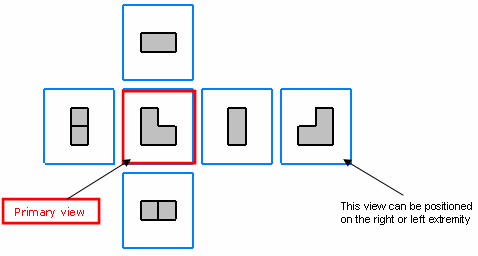
Primary views are design views which have no parent view and set the distribution of their children views, grand-children views, and so on.

The name of a primary view corresponds to its view type. For example, a primary view of the left type is named "Left view". The specification tree does not distinguish primary views from other views. (To know which view is the primary one, you may use knowledge capabilities).
Layout sheets may have several primary views of different types.
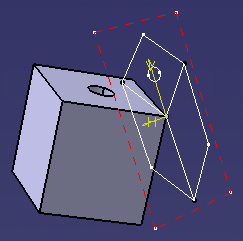
A view box is associated to each new primary view. Thus, design views created from primary views are created according to their associated view boxes and not from the standard's definition, which keeps the position of linked views in 3D space coherent.
Section Cut / Section View
In the 2D Layout for 3D Design workbench, when activating the Cutting Plane icon, representations of section cuts and section views are identical (for the background of a section cut is still visible).
However, it is useful to differentiate these two view types from their 3D creation, because once projected in the Generative Drafting workbench, section cuts and section views are represented correctly.
To distinguish a section cut from a section view in a layout, you can customize the visualization. Activate the back-clipping plane, then edit a low depth. The background of the section cut will be less visible.
Isometric views |
|
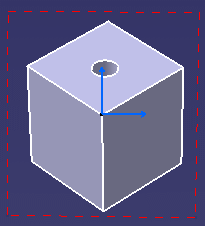
Isometric views differ from projection views to a certain extent. In 3D space, isometric views would be located at the corners of the view box. However, they are not visualized outside the 2D Layout for 3D Design workbench.

