|
|
This task shows you how to edit a tool
assembly that is already used in your document. Note that if you edit a resource that is used by one or more machining operations, then these operations will be impacted by the modification. |
|
|
|
1. | Double-click the desired tool
assembly in the Resource List. You can also right-click it and select the Edit NC Resource contextual command. |
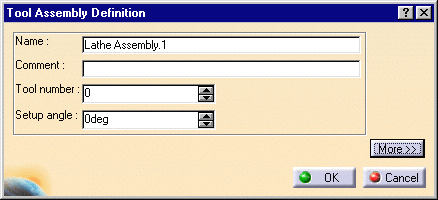
| The Tool Assembly Definition dialog box is displayed
allowing you to edit the tool assembly's geometric and technological
parameters. |
||
|
|
Please refer to Lathe Assembly Resources for a description of the available parameters. | |
| 2. | If needed, enter a new name and comment for the tool assembly. | |
| 3. | If needed, use the spinner to change the Tool number. This parameter identifies tool in the tool storage magazine. | |
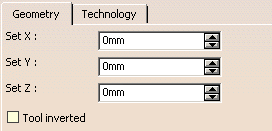
| 4. | Click More to expand the dialog box to access the Geometry and Technology tabs. | |
| 5. | You can specify the tool assembly geometry in two ways:
|
|
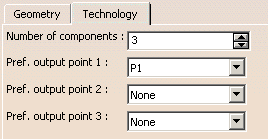
| 6. | Click the Technology tab and enter the desired
values for the tool assembly's technological parameters. |
|
| 7. | Click OK to accept the modifications made to the tool assembly. | |
|
|
A CATPart or CATProduct representation can be assigned
to the tool assembly by means of the Add User Representation
contextual command in the Resource List.
If a component (insert holder or insert) of the assembly has a user representation, then that representation will not be taken into account. The assembly representation has priority. A mask symbol on the bottom right of the Tool Assembly icon in the PPR
tree indicates that a user representation has been added to the resource.
For example: For more information about user representations, please refer to User Representation of Lathe Tools. |
|
|
|
||


