See the Rule and Check Tasks for more information on check-related tasks.
-
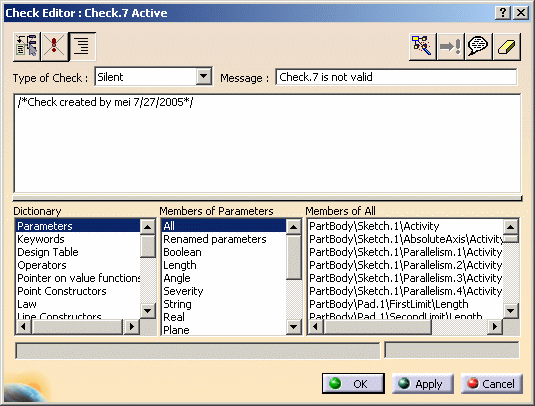
Click the
 icon. The first "Check Editor" dialog box is displayed.
 -
Replace the Check.1 default name with Cylinder_Check, then click OK. The Check Editor box is displayed. It is similar to the Rule Editor. Make sure you have not pressed Incremental.
-
Select the Information item in the Type of Check list.
-
Enter a string in the message field (for example: Pad too short). This message is to be displayed whenever the statement specified by the check is not fulfilled.
-
Enter the following statement into the edition box:
PadLength > 20mm -
Click OK to confirm the check creation. The Cylinder_Check relation is added to the specification tree. A green icon in the specification tree means that the check is fulfilled. No message is displayed.
-
Change the Pad limits so that
PadLength <= 20mm. The Cylinder_Rule relation is re-applied. An information window displays the new PadLength and Pad internal diameter values. Then, you are warned by another window ("Pad too short") that the check is no longer valid. The check icon in the specification tree turns to red.