This section deals with:
Creating a Mechanism Dressup
At least one kinematics mechanism must be active in the specification tree.
-
Click Mechanism Analysis
 .
.
The Mechanism Analysis dialog box appears:
-
Click Simulation with Commands
 .
.
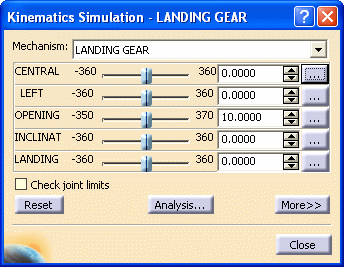
The Kinematics Simulation dialog box is displayed.
-
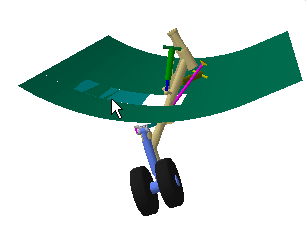
Manipulate the slider of the LEFT command.
The corresponding part of the kinematics mechanism namely the Opening moves accordingly.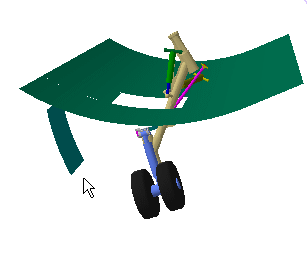
-
Click
 and then

Let's attach the left door to the LANDING GEAR mechanism: -
Click the Mechanism Dressup icon
 in the DMU Kinematics toolbar.
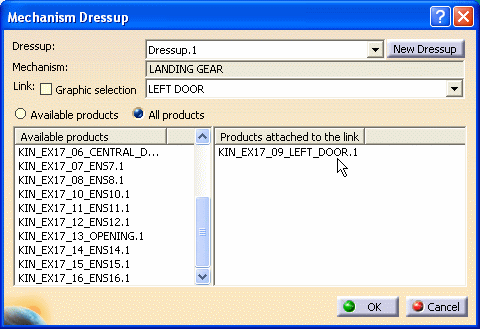
The Mechanism Dressup dialog box is displayed. -
Select LEFT DOOR as link

Note you can select the link directly in the geometry area or in the specification tree, using the the graphic selection option. Though, only one selection is allowed. 
Note that you can select or deselect attachments directly from the specification tree or geometry area. You can select either the available products or all products. By default the Available products option is set. 
- Available products: if set, this option lets you visualize the products that are not referenced in any attachment within the mechanism.
- All Products: if set, this option lets you visualize the products that are not attached to the current link (here, LEFT DOOR)
-
By default, the Available products option is selected:
The two products in the left column have not been attached yet.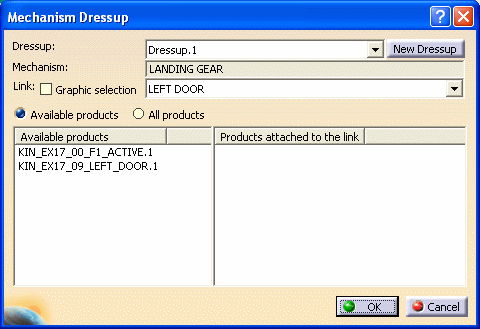
-
Select the All products option. Then, select KIN_EX17_09_LEFT_DOOR from the available products list to attach it to the link:
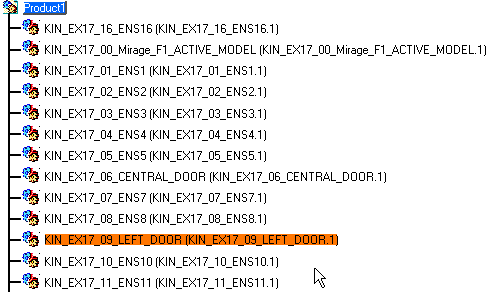
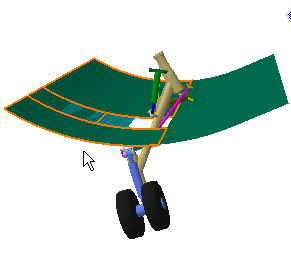
The selected product is highlighted in the specification tree and in the geometry area as shown below: -
Click OK to confirm your operation.
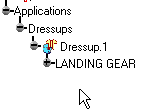
Note: dressup is directly accessible from the specification tree, you can simulate it and it can be saved in ENOVIA VPM.
Let's simulate the mechanism with the new dressup -
Click on the Simulation with Commands icon
 again.
 -
In the Kinematics Simulation dialog box, manipulate the slider of the LEFT command.
This time, the corresponding part of the kinematics mechanism moves accordingly.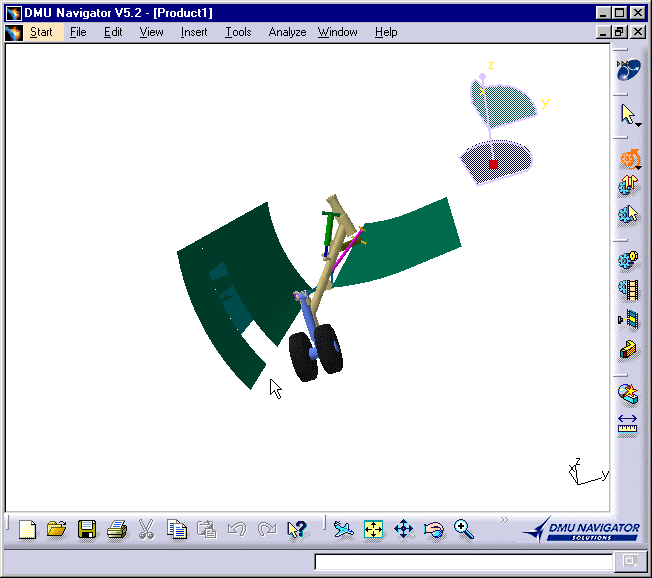

Batch processing Mechanism Dressup

Dressup can be now handled by automation interfaces.
You can therefore generate macros using Tools > Macro > Record... to:
- Create a new dressup for a given mechanism
- Edit a dressup either
- attaching to a link its corresponding moving product(s) or
- detaching from a link a given moving product
- Delete a dressup
This functionality allows implementing many scenarios involving dressup data and gives the possibility to easily automate dressup mapping between wireframe parts and detailed parts. (a useful dressup link between Parts with the same name).
|
|
Refer to:
Provided documents:
|
Access to the specific CAA V5 Automation - DMU - Kinematics documentation is provided on the documentation homepage.
 |
 |
![]()
![]()