![]()
This task shows the impact of moving constrained components in simulation with commands context
![]()
Open the Jack.CATProduct document
![]()
In our sample document, there is only one mechanism. If you work with a product containing more than one mechanism, it is strongly recommended to select the mechanism you need before starting the simulation with commands.
-
Click the Simulation with Commands icon
 .The
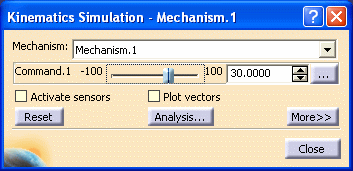
Kinematics Simulation dialog box is displayed.
 -
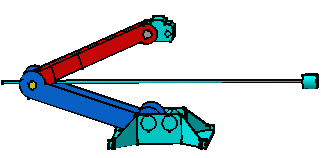
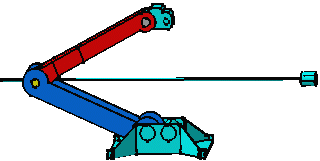
Run your simulation moving the command slider (i.e. until value 30.0000)


Initial position Position after simulating
-
Exit the Simulation with Commands clicking the Close button.

You need to click
 before leaving the
simulation command to go back to the initial position
By default the new position is kept when exiting the simulation commands (Simulation with Commands and Simulating With Laws) -
Now, use the compass and the Shift key to move CRIC_BRANCH_1.1.

-
Select the compass manipulation handle and drag it onto CRIC_BRANCH_1.1
Now, if you press and hold down the Shift key, select v/z axis on the compass, then drag and drop the component up and down, you can see that three components are moving. This is an example of what you can get:
-
Now, click Simulation with Commands
 again.
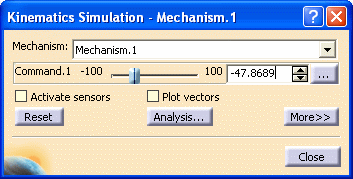
 Note: the last command value was: 30.000
The command value is automatically calculated with respect to the new position.
The command value becomes in our example: -47.8689
-
Run your simulation again.
-
Click Close.
![]()