![]()
This task shows how to use the reset command .When exiting
the simulation with laws or with commands in DMU Kinematics, the modified
position is kept. You can need to swap to the initial product position, all
you need to is click Reset Positions
![]() and select the
appropriate option.
and select the
appropriate option.
In addition, when importing a sub-mechanism, a 'local copy' of the sub-mechanism is created, and if you simulate it, it becomes de-synchronized with its reference. The reset command allows to re-synchronize an imported mechanism with its reference. You can also apply a particular state of an imported mechanism to its reference
-
Click Simulation with Laws
 .
.
Note: you can also choose to run a simulation with commands
Initial position when entering the simulation:
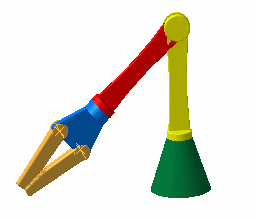
-
Run your simulation using the Play Forward

-
Click the Pause button.
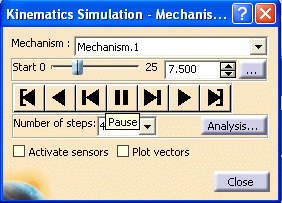
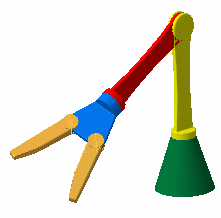
-
Select File > Save... from the File menu
-
Click Close to exit the simulation with laws command. The modified position is kept.

-
Click Simulation with Laws
 .
Run your simulation again clicking Play Forward

-
Exit the Simulation with laws command without clicking Start
 . The
modified position is kept by default
-
Click Reset Positions
 . The Reset
Mechanism dialog box appears:
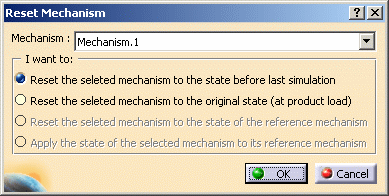
New option buttons appear in the Reset Mechanism dialog box:
-
Reset the selected mechanism to the original state (at product load)
-
Apply the state of the selected mechanism to its reference mechanism (not available here, this option button is available if dealing with imported mechanisms)
The 'Reset the selected mechanism to the state before last simulation' option button is selected by default, keep it as it is.
-
-
Click Ok. The mechanism goes back to the position it had before its last simulation:

-
Repeat step 8. and this time, clear the default option button and select 'Reset the selected mechanism to the original state (at product load)' option button.

-
Click Ok. This is what you obtain:


Note: the mechanism position taken into account is the one it had after the last 'File > Open' operation (even if saving operations (File > Save...) have been performed in the meantime) You saved your file (see step 4)
Now you are going to import the mechanism into another document
-
Using the File > New command, click New
 from the Standard toolbar or select the File > New...
command. In the New dialog box, double-click Product
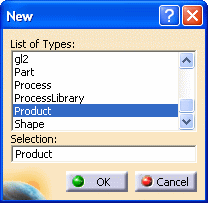
An empty document appears.
-
Arrange your document windows using Window > Tile Vertically command.
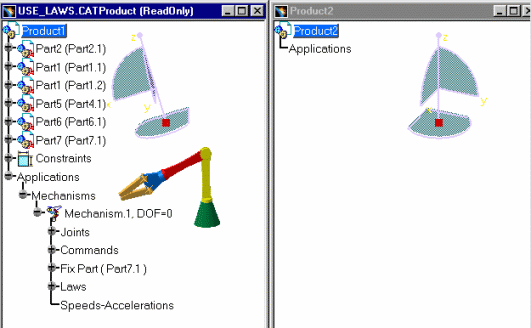
-
Use the Copy/Paste capability to create a new product:
- Right-click PRODUCT1 in the left window. Select Copy from the contextual menu displayed.
- In the right window, right-click Product2 and select Paste from the contextual menu.
-
You have two possibilities to import the sub-mechanisms:
-
either click the Simulation with laws
 or
or -
Import Sub-Mechanisms
 .
.
In The import is automatically performed
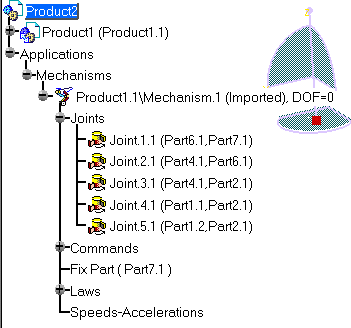
-
-
Click the Use_Laws.CATProduct window (left in our example) and click Simulation with Laws
 in
the DMU Kinematics toolbar.
 -
Run your simulation using the Play Forward

-
Click the Pause button at a position of your choice:
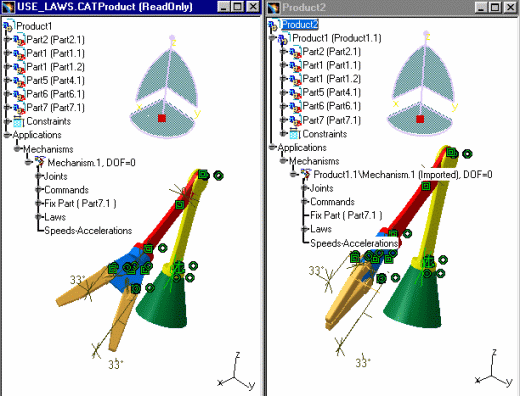
-
Click the Product2 window and Click Reset Positions
 .
. -
Select the imported mechanism (Product1.1\Mechanism.1 the only one in our example)
-
Select Reset the selected mechanism to the state of the reference mechanism option.
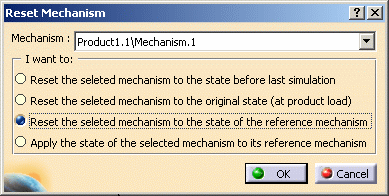
The imported mechanism is synchronized with its reference mechanism (they share the same position)
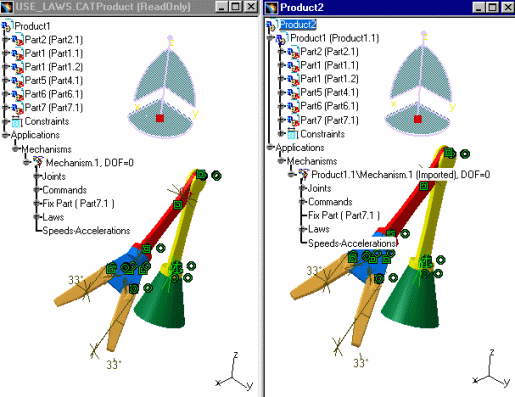
-
Click Ok to exit the Reset Mechanism dialog box
-
Still in the Product2 window, click Simulation with Laws
simulate the imported mechanism stop at a given position, for example:
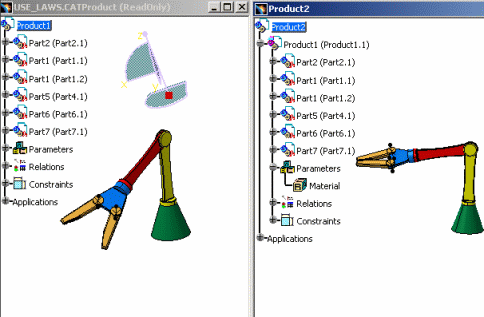
-
Click Close to exit the simulation with laws command
-
Click Reset Positions
 again,
this time select 'Apply
the state of the selected mechanism to its reference mechanism'
option button and click Ok to confirm your operation
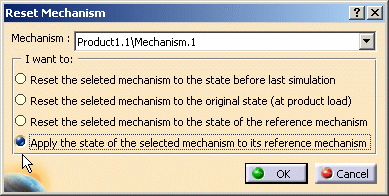
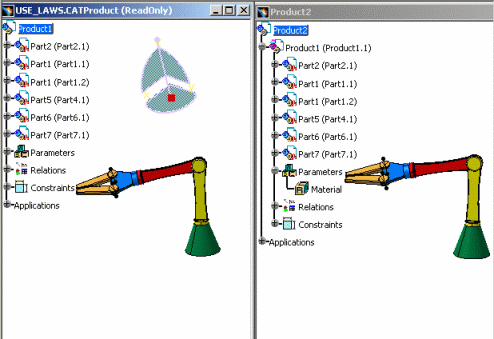
The imported mechanism position (instance) is applied to its reference
![]()