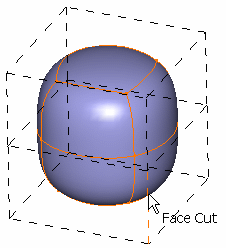
A subdivision surface is a skin made of an elementary surface that can be closed or open. The definition and the control of the shape is done using a mesh that is made of four-sided faces.
-
Click Sphere
 .
.The surface (identified as Subdivision Surface.x) is added to the specification tree. 
It is displayed at the center of the screen and its size is a ratio of the window size. 
-
Click Faces Cutting
 .
. -
Select the surface to be cut.
-
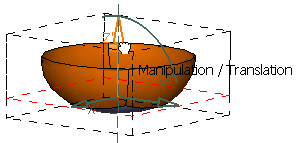
Click Modificqtion
 .
.A Tools Palette is displayed. -
Click Translation
 and Face Selection
 .
. -
Translate the surface down along the Z axis.
-
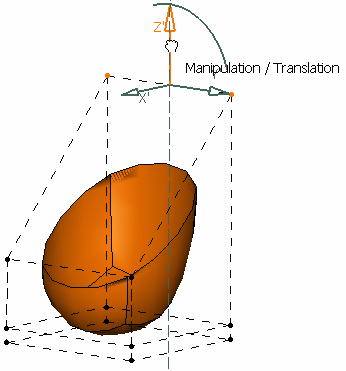
Click Vertex Selection
") .
. -
Select the two vertices by pressing Ctrl (see picture below),
-
Translate the surface up along the Z axis.
-
Perform the same operation with two other vertices:
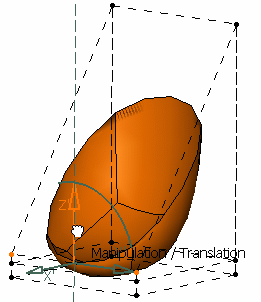
The basic shape of the chair is now ready. 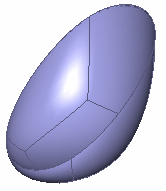
Let's move to the next step and create the leg of the chair.
![]()