Attaching/Detaching Hangers

This task shows you how to attach and detach a hanger.
After you place a hanger you must attach it to a bulkhead or other such surface. This function shows how to attach a hanger that has been placed on a piping run.
1. Select the hangers you want to attach.
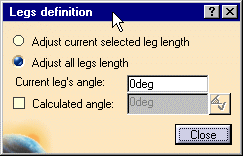
2. Click the Connect Parts button . The Legs Definition dialog box displays.

  • If a hanger has more than one downcomer, and you want to change the length of only one of them, then select the option Adjust Current Selected Leg  length. You need to select the connector at the end of the downcomer.
  • Select the second option, Adjust All Legs Length, if you want to attach all downcomers of all selected hangers.
  • You can change the angle of downcomers for some types of hangers. If the Current Angle field shows 0 degrees then the angle cannot be changed. To change the angle, you can enter the angle in the Calculated Angle field. Or you can place the compass at the location where you want the downcomer to attach. When you place the compass the new angle will show in your document and the Calculated Angle field will display the new angle (if the angle is not outside the range as determined by your design rules). Click the Apply Calculated Angle button to change the downcomer angle. You can repeat this step with the second downcomer. In the image below the user has placed the compass on a surface and the calculated angle is displaying (as a dashed blue line).

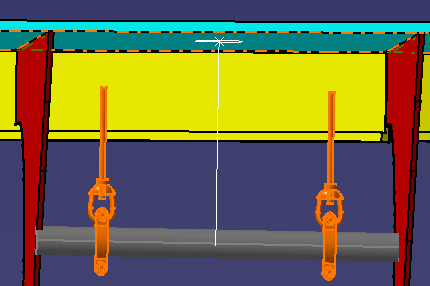
          

3. In the present example both hangers will be attached so check the option Adjust All Legs Length.
4. Move your mouse pointer - it will display a white square - to the surface to which you want to attach the hangers, in this case the bulkhead above. The selected surface will highlight.

5. Click on the surface. The downcomers will extend to attach to it.

Downcomers can only extend to a pre-specified length. If your hanger is too far from the surface to which you want to attach it you will get an error message. Move the hanger closer to attach it.
When you detach a hanger you are removing the logical connection. The appearance of the hanger and length of the downcomer is unchanged.

When a hanger is moved from its attached location - or the attaching surface or structure is moved, the logical connection remains and is "flagged" as a connection status change. See Analyzing Hanger Connections.
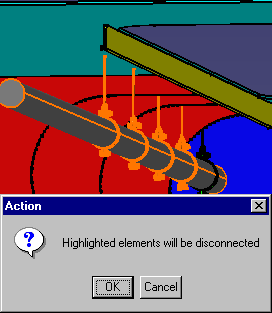
6. Select the hangers you want to detach. Press the Ctrl key while selecting multiple hangers. Click the Disconnect Parts button
7. The parts will be highlighted and the Action dialog box will open. Click OK to disconnect the hangers. The selected hangers will be disconnected.