-
Click the Rib icon
 .
.
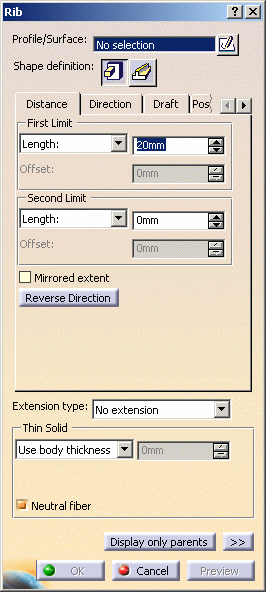
The Rib dialog box that appears displays the Prism icon as the default shape to be created. Keep this option.
-
Select Internal Ribs as the profile to be used.
-
Enter 20mm in the Length field to define the first limit.
-
In the Wall frame, set the Enter thickness option. Enter 1mm to define the wall thickness. Wall thickness values can only by positive (nonzero) values.
-
Click the Direction tab to ensure that the direction of the features will be normal to the profile plane.
-
Click the Draft tab.
-
To define the draft angle, set the Draft behavior option to Intrinsic to feature. Options are now displayed.
-
Set the Angle option to -1deg.
-
Set the Profile plane as the neutral element to be used for drafting the rib feature.
-
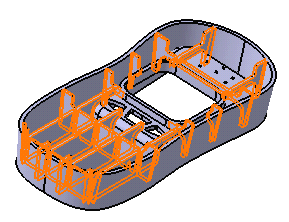
Click OK to create the rib.

The specification tree indicates this operation under the name of Rib.1.
In a Nutshell
Ribs are typically applied inside of a shelled body.
To know more about this capability, refer to Rib.