Creating a shellable prism means ensuring that the geometry you are going to create can be shelled after you added material generated by other features.
-
Click the Shellable Feature icon
 .
.
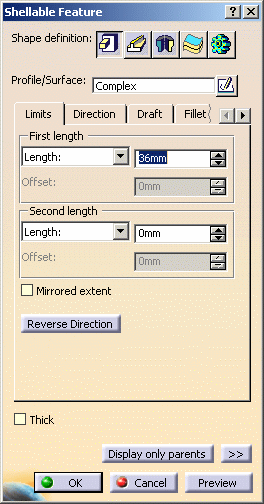
The Shellable Feature dialog box that appears displays the Prism icon as the default shape to be created.
-
Keep the default option and select Lateral Profile as the profile to be extruded.
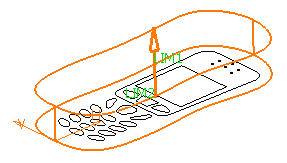
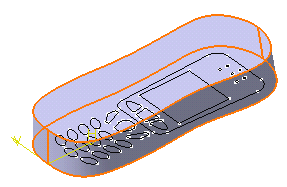
The application previews the prism. -
Enter 15mm in the First length field to define the feature length. The preview of the prism changes dynamically as you change values.

-
Click the Direction tab to check that the default option fits your needs: as the Normal to profile option is checked, the prism will be created normal to the sketch plane. Keep this option.
-
Click the Draft tab that enables you to optionally draft the prism.
-
To define the draft angle, set the Draft behavior option to Intrinsic to feature. Options are now displayed.
-
Set the Angle option to 5deg if not already done.
-
Click OK to confirm. The shellable prism is created and the application displays this feature in the specification tree.

In a Nutshell
The Shellable capability creates geometry that will belong to the main shape of the part. Shellable features can take on the shape of a prism, sweep, revolve, thick surface or even of an external shape.
To know more about this capability, refer to Cutout.