-
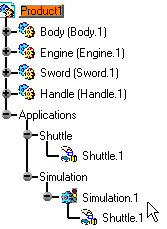
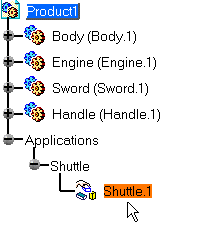
Select Shuttle.1 in the specification tree.
-
Select Insert > Simulation
 .
.The 3D compass automatically positions according to the shuttle axis. 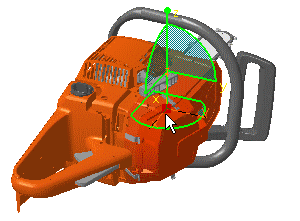
The Edit Simulation dialog box and the Preview window appear. You are ready to record a simulation. 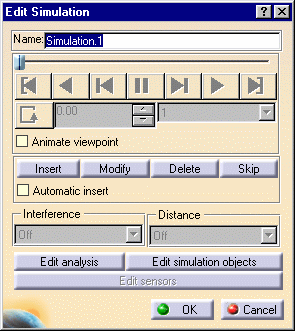
You can now record a simulation with an animated viewpoint. For this, select the Animate viewpoint check box. For more details, please refer to Animating a Viewpoint. The first shot: shuttle in the origin position is already recorded in the simulation. 
-
Select the manipulator to move the shuttle as desired.
-
Drag the cursor to the desired shuttle location.
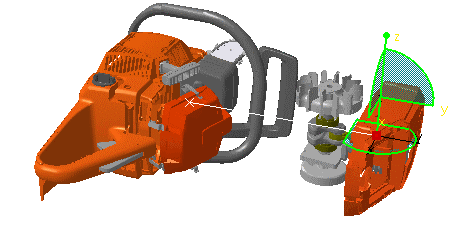
-
Click Insert to save and insert in the simulation the shuttle in the new position.
-
Insert another location in the same manner:
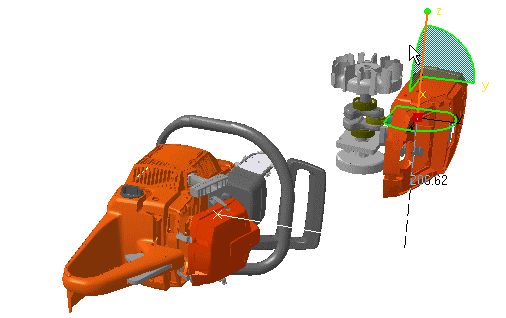

You can select and drag all the components of the manipulator (axis, plane, arc, point) to move in different ways. -
You can do several manipulations before inserting a new position in the simulation.
-
Click OK to end the simulation creation.
The simulation is identified in the specification tree. 