-
Select the shuttle.2 either in the geometry area or in the specification tree.
-
Select Insert > Simulation.
The Edit Simulation dialog box and Preview window appear. 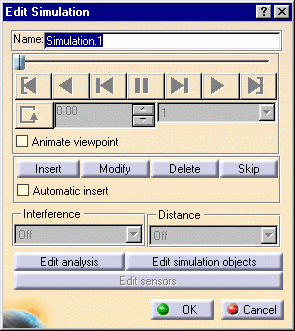
-
Click the Insert button and record the shots.

Remember the initial position is automatically recorded. If you need to reposition the shuttle, please delete the first position or modify it. 
Insert means that you record and insert positions with the current viewpoints inside the scenario. 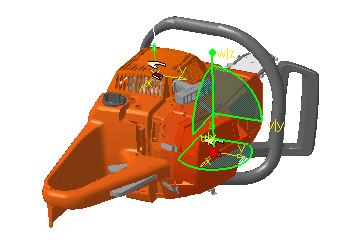
-
Move the shuttle to the desired location via the manipulator.
-
Click the Insert button and record the desired position.
-
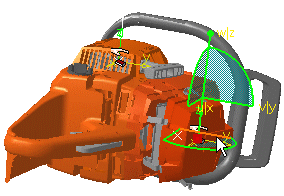
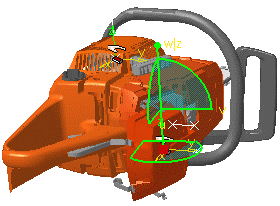
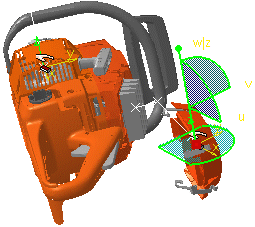
Move the shuttle as often as necessary, clicking Insert switch to record shots. Change the viewpoint as shown below:
-
Select the appropriate interpolation. You can modify or choose the automatic insert at any time.
The simulation is identified in the specification tree 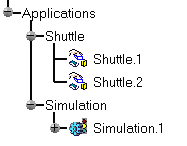

You can select the Automatic insert check box at any time. For more detailed information, please refer to Recording a Simulation Automatically -
Replay your simulation with the Animate viewpoint check box selected.
The simulation is replayed with the viewpoint changes. 
Note that you can activate Animate viewpoint at anytime either before recording the simulation or after. -
Click OK to save your simulation.