-
Select Sequence.4 in the specification tree.
-
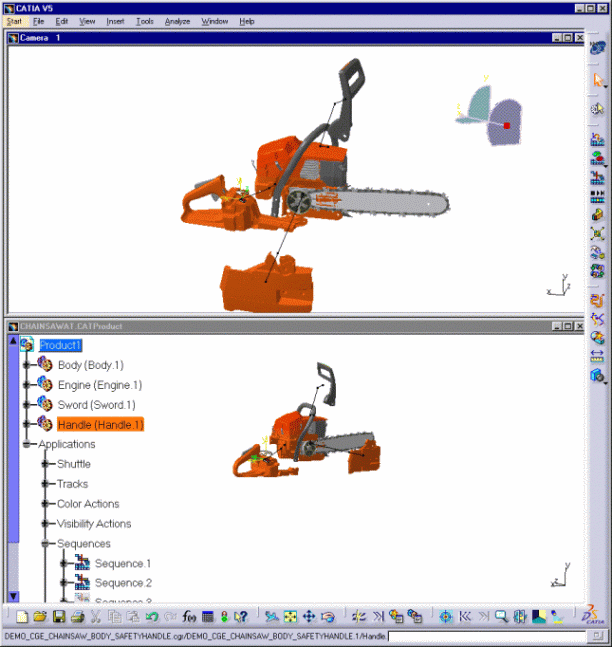
To open a camera window, select Window > Camera window > Camera.1...
-
Select Window > Tile Horizontally...
The track objects are no longer displayed: they have been transferred into the No Show space. You are now ready to generate a film in AVI format. -
Multi-select the tracks on the specification tree and click Hide/Show
 ,
or select the View > Hide/Show > Swap Hide/Show.
,
or select the View > Hide/Show > Swap Hide/Show.-
Set up the Capture Session.
-
Select the Recording
 button to access the Video Properties dialog box, which
lets you set up the video capture parameters prior to recording the
video.
button to access the Video Properties dialog box, which
lets you set up the video capture parameters prior to recording the
video. -
Choose the Video File Format and Location.
-
For this example, select Microsoft AVI (Windows).
-
Specify which part of the screen to record.
-
Set Movie Replay Parameters.
-
Select the OK button in the Video Properties dialog box to start the recording.

Please read Recording Interactions in Video Format in the Infrastructure User's Guide. -
-
Select Tools > Image > Video to display the Video Recorder dialog box.
-
Run your sequence simulation with the Player.
-
Select the Stop button on the Video Recorder dialog box.