-
Use the View > Zoom In command and drag (left mouse button) to zoom in progressively until you can clearly see the surfaces of the nut and bolt.
-
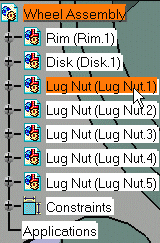
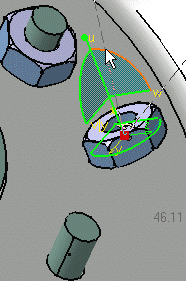
Select Nut 1 either in the geometry area or in the specification tree.
-
Click Shuttle
 from the DMU Simulation toolbar.
 -
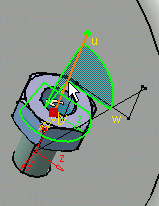
Make sure you work with the privileged plane VW.
Right-click the compass and select Make VW the Privileged Plane. 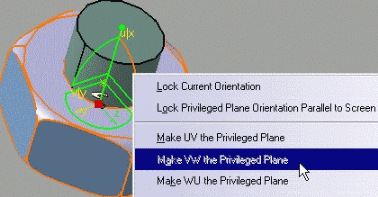
-
Click Define Snap Axis
 from the Manipulation toolbar.
A red axis system appears on the shuttle. The current shuttle axis position is recorded. 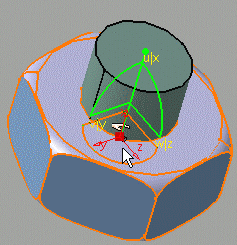
-
Click OK to end the shuttle creation.
Now you might need to customize the snapping settings. -
Use Tools > Options > DMU Fitting > DMU Manipulation to customize snapping settings.
Set values for the: - Position: 6mm (keep the default value)
- Orientation: 200mm (20mm is the default value)

-
Click OK to take your modifications into account.
-
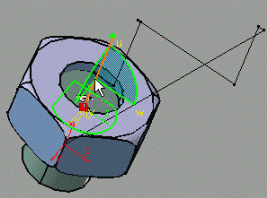
In the specification tree, drag and drop the Simulation
 on shuttle.1.
Please refer to Dragging and Dropping Icons Onto Objects in the Infrastructure User's Guide. -
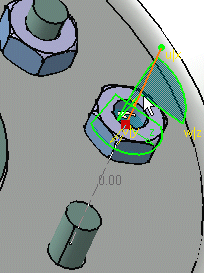
Move the shuttle as shown below:
-
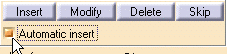
In the Edit Simulation dialog box, select the Automatic insert check box.
-
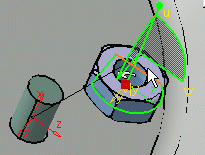
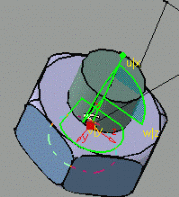
Start recording your simulation moving the shuttle towards the disk.
The nut is snapped as shown below. 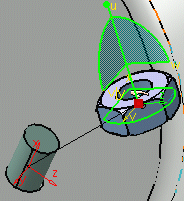
![]()