|
This task shows you how to create angular
dimension annotations. |
 |
Remember that:
- When the dimension supports are related to a parameter (sketch's
constraints, knowledge, etc) for which tolerances are still defined, they
are set to the dimension tolerances.
|
 |
Open the
Annotations_Part_02.CATPart document:
|
 |
-
Click Dimensions
 in Annotations
toolbar.
in Annotations
toolbar.
-
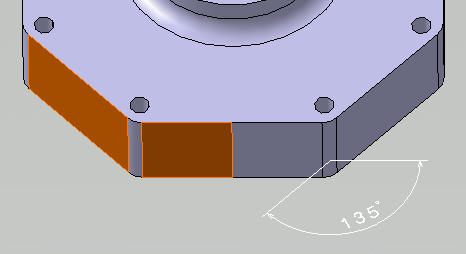
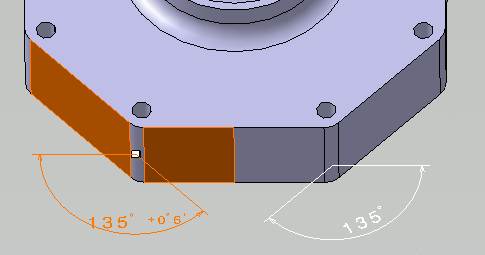
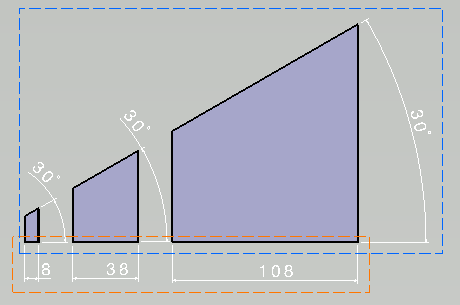
Select the surfaces as shown on the part.
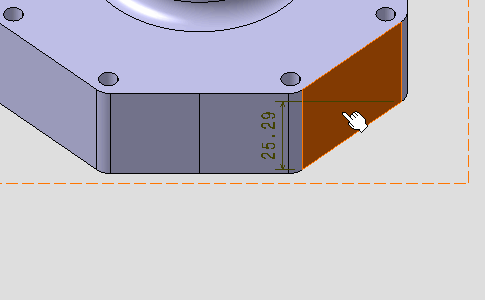 |
| A linear dimension appears during the creation process before you
select the second surface. |
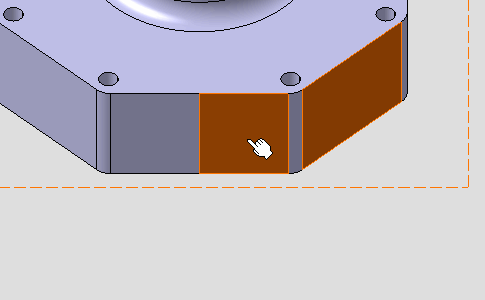 |
The angular dimension appears.
If the angular dimension does not appear, right-click the dimension
and from the contextual menu select Angle. |
 |
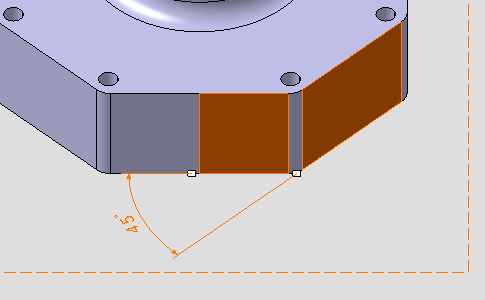
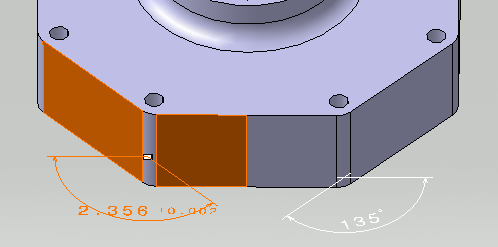
-
Right-click the angular dimension and select Angle
Sector - > Sector 4
 from the contextual menu.
| The angular dimension is modified. |
 |
-
Click outside any geometry to end the dimension creation
process.
|
|
|
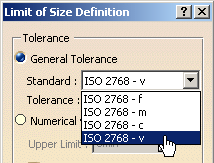
Since the
Always try to create semantic tolerances and dimensions option has been
selected, the dimension has not
been set as semantic. This is why the Linear Dimension icon
appears in the specification tree and the dimension is created as
Dimension.1. |
|
|
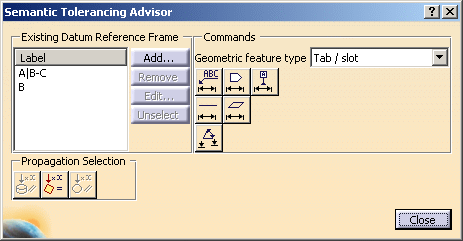
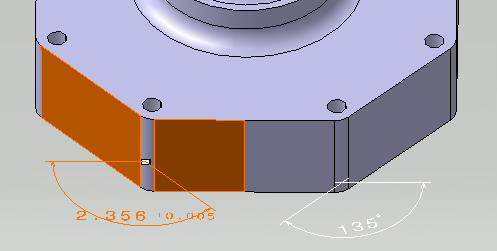
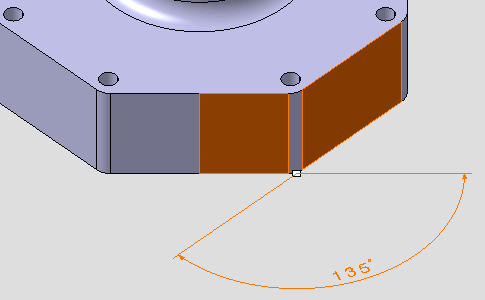
-
Right-click the angular dimension and select
Dimension.1 object > Angle Sector - > Sector 1
 from the contextual menu.
| The angular dimension sector is modified. |
 |
| |
|
|
|
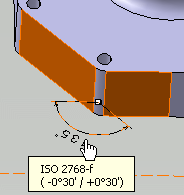
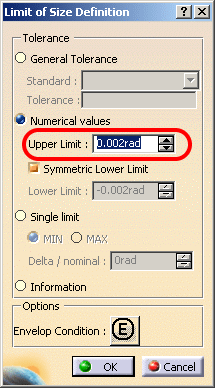
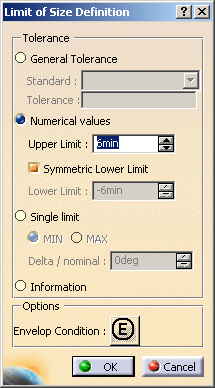
If the
Always try to create semantic
general tolerances and dimensions option has been
selected, the dimension is set as semantic. The Angular Size icon is displayed in the specification
tree and the angular dimension named Angular Size.1 during the
dimension creation process. |
| |
-
-
 |
| |
-
 |
-
-
-
-
-
-
 |
-
-
|
-
|
 |
|
|
|
 |
-
-
|