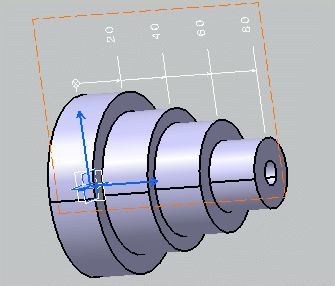
- When the dimension supports are related to a parameter (sketch's constraints, knowledge, etc) for which tolerances are still defined, they are set to the dimension tolerances.
-
Activate the Front View.1 annotation plane.
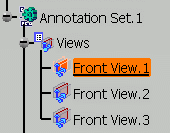
-
Select the first element.
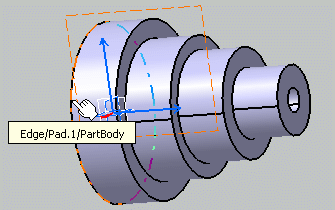
-
Select the second element.
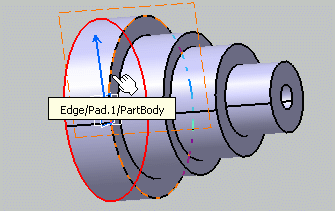
You just created a first dimension within the cumulated dimensions system. You can then proceed to create as many dimensions as necessary.
-
Select, one after the other, the third, fourth and fifth elements to create three additional dimensions within the cumulated dimensions system.
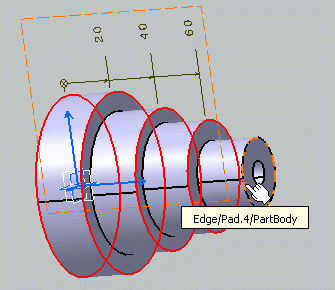
-
Click in the free space to validate and end the dimension creation. You can notice that the cumulated dimension values are aligned.
