- Using the list box
- Using the Signal multi-selection dialog box.
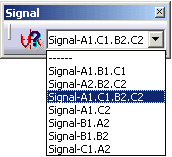
Using the List Box
-
Click the Signal field.
To do this, select View > Toolbars, and select Signal.
-
Drag the mouse to Signal-A1.C1.B2.C2.

When you release the mouse button, the signal is selected (Signal-A1.C1.B2.C2).
Using the Signal Multi-selection Dialog Box
-
Click Select Signal
 .
.
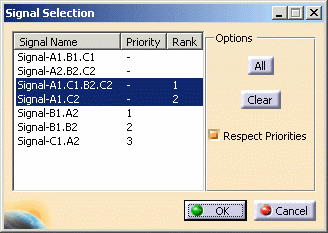
The Signal Selection dialog box opens. -
Select one or several signals using Ctrl key.

Note that Rank allows you to choose the selection order during the automatic routing, taking into account possible Priority orders.
In our example, Signal-A1.C1.B2.C2 will be routed first, then the other signals according to their ranks.For more information, please refer to Creating Signals in CATIA - Electrical System Functional Definition user's guide (step Attributes).
-
Click OK to validate.
You have created the bundle and set up the context.The Signal Selection dialog box looks like this: 
When working in multi-selection, switch the list box to the desired signal to display the wire connections.