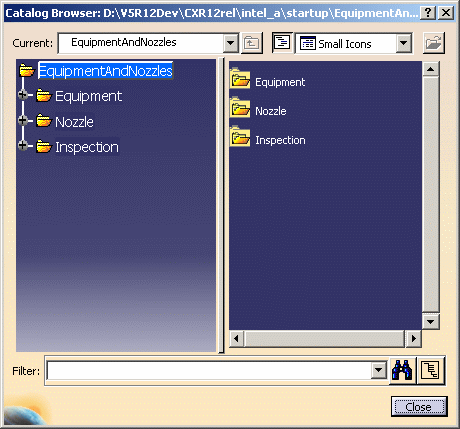
This type of parts placement is known as "functionless" parts placement because these parts do not have a function as defined in the feature dictionary. Instead of opening a class browser, you open the catalog browser.
See also Placing Equipment.
You must also enter the appropriate value for the Function Driven flag in the project resource management file.
See also Detecting Clash in Parts Placement.
1.

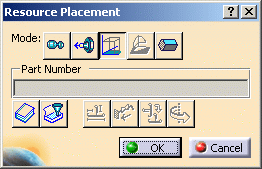
Select the mode by clicking one of the buttons.
![]() Place on Object to
place on another object, such as an item reservation or equipment.
Connectors do not display when you select this mode.
Place on Object to
place on another object, such as an item reservation or equipment.
Connectors do not display when you select this mode.
![]() Place on Connector to place a part on a connector. You would use this, for
instance, when placing a nozzle on a part connector. Connectors can be seen
when you select this mode.
Place on Connector to place a part on a connector. You would use this, for
instance, when placing a nozzle on a part connector. Connectors can be seen
when you select this mode.
![]() Place on
Active Axis Plane. This will place the part on the same plane as the axis
that is active. You could use this with a local axis, for instance.
Place on
Active Axis Plane. This will place the part on the same plane as the axis
that is active. You could use this with a local axis, for instance.
![]() Place on
Compass Plane. This mode allows you to place a part on the compass plane.
It becomes active when you move the compass and place it on a surface.
Place on
Compass Plane. This mode allows you to place a part on the compass plane.
It becomes active when you move the compass and place it on a surface.
![]() Place on Surface
lets you place a part on a surface, such as a ship's deck. You will first
need to position the white reference square that appears when you click
this button.
Place on Surface
lets you place a part on a surface, such as a ship's deck. You will first
need to position the white reference square that appears when you click
this button.
![]() Open Catalog Browser
lets you open the browser to select a part.
Open Catalog Browser
lets you open the browser to select a part.
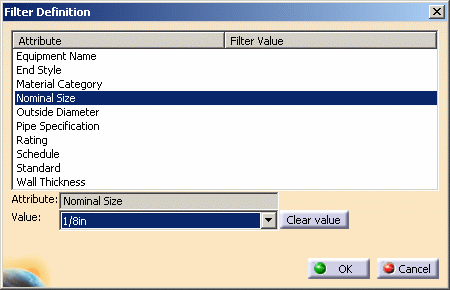
![]() The Filter
Definition button lets you override values and specification, explained in
Step 2 below.
The Filter
Definition button lets you override values and specification, explained in
Step 2 below.
The last four buttons, Edit Part Parameters, Move, Flip & Adjust, let you perform tasks already explained in this manual. They become active when they can be used.


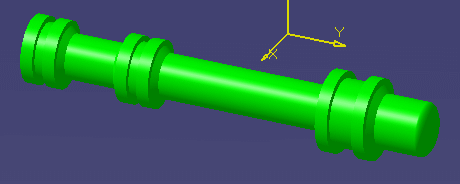
By default, when you click (in free space) to place a part the center of that part will be placed at that location. The center is determined by the application by drawing a box around the part and selecting the center of the base of the box. You can also choose to place the origin of the part at the point where you click. To do this click on Tools - Options and select Equipment & Systems and the General tab. Check the box Place at component's origin when placing in free space.