A sample project resource management file is provided with this application and by default, the application will start with this file.
Working with Electrical
Connectivity Diagrams allows you to create zones.
Before you create zones you must designate a directory in which they will
be stored. This is performed by the administrator, using the project
resource management file.
-
Click Tools -> Project Management menu.
The Project Resource Management dialog box opens: 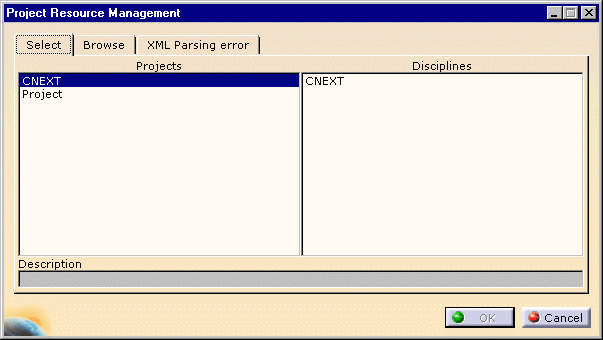
By default, the CNEXT project with the CNEXT discipline is displayed.
If another project has been defined by the administrator, it is also available in the projects list.
Each project is defined via an XML file. -
Select the CNEXT discipline and click the Browse tab:
The list of applications available in the CNEXT project is displayed. 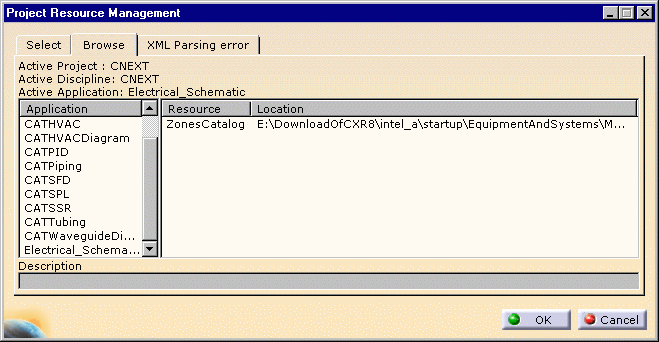
 Working in Electrical
Connectivity Diagram workbench - (Active Application is
Electrical_Schematic) -, only the ZonesCatalog resource is
shown with its location.
Working in Electrical
Connectivity Diagram workbench - (Active Application is
Electrical_Schematic) -, only the ZonesCatalog resource is
shown with its location.
Each zone ID that you create has a file associated with it, and will be stored in this directory.
-
Click OK when you are done.