![]()
Make sure you have set up the automatic compass option.
Open the SmartPlace.CATProduct document.
-
Click Smart Place
 .
. -
Select the part you want to place.
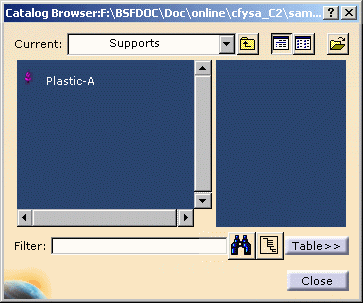
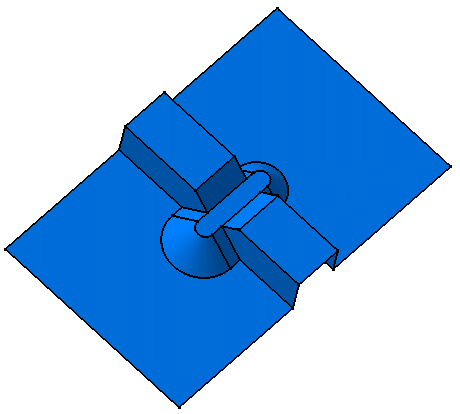
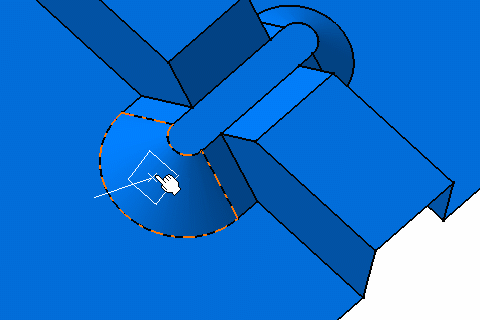
For example: Standard Parts > Supports > Plastic-A.In the geometry area, a manipulator displays allowing you to select: - The placement point
- The privileged plane
- The direction. By pressing the Shift key, you can invert the direction.
-
Point to the chosen position and click to place the support.
The support is placed on the plane selected, with a compass automatically snapped to the part. 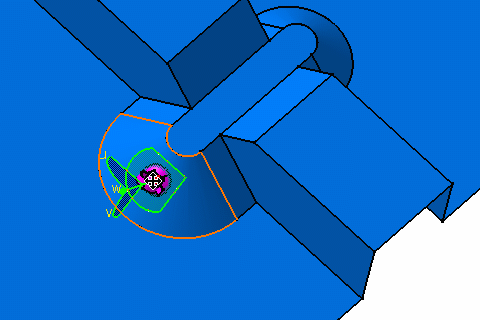
Note: If you click anywhere, other than on the existing geometry, the component is not instantiated.
-
Use this compass to orientate the support.
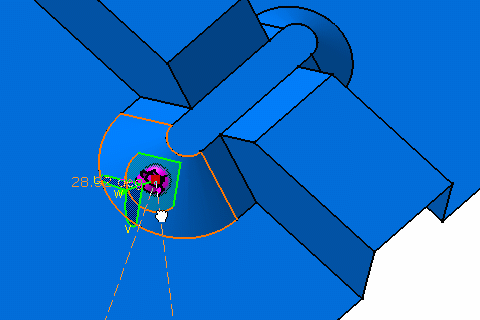
You can also select an edge in the geometry.
A green arrow appears showing the orientation. By pressing the Shift key, you can invert the arrow direction.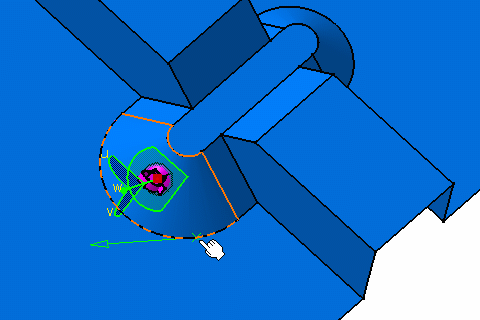
Click to select the chosen orientation.
The support is orientated according to the edge you have selected: the rotation applied to the object aligns the compass V axis to the manipulator's green arrow.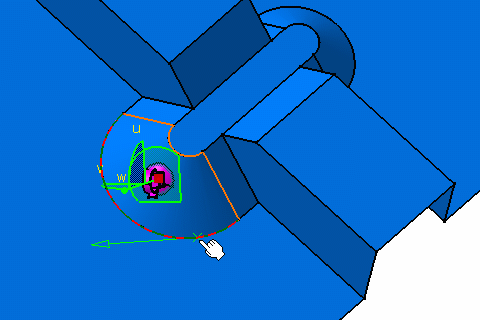
-
Point to the next position if you want to place the support again.
Otherwise, click a different part from the catalog and repeat these steps. -
Click Close when you are done.
Smart Placement and Adaptative Parts
-
Click Smart Place
 .
.
The Catalog Browser displays. -
Select an adaptative part.
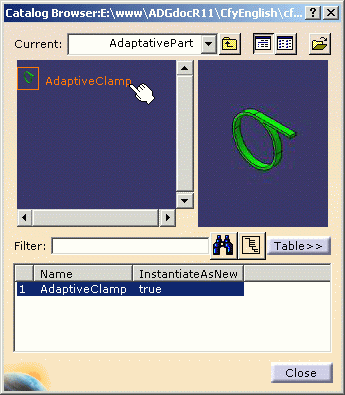
Note that this part has been stored into the catalog with a special keyword: InstantiateAsNew. Refer to the Catalog Editor documentation. 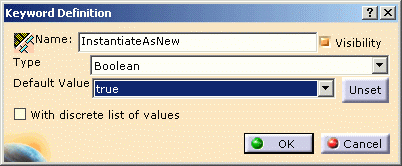
This keyword, valuated as true, makes it possible to use a same component several times from the catalog, creating each time a new document with a new part number.
This functionality is specially designed to work with adaptative parts. It is not necessary to use this keyword in other cases.
It can be practical to create a family in your catalog to store all your adaptative parts. When adding a part to this family, the keyword InstantiateAsNew will automatically be valuated as true. -
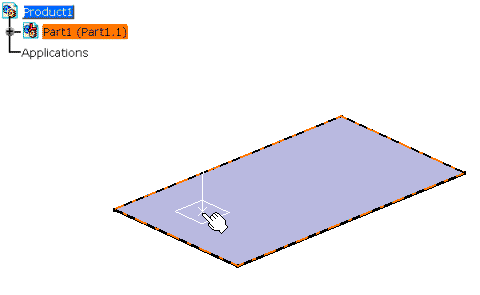
Point to the chosen position and click to place the support as often as needed.
-
Click Close when you are done.
The result looks like this: 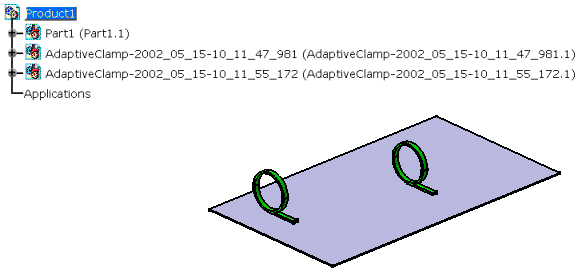
New documents have been created with different part numbers.
The Part Number is automatically generated from the component part number, the date (year_month_day) and the time (hour_minute_second_millisecond).
- The part is stored in the catalog with:
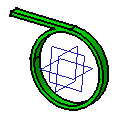
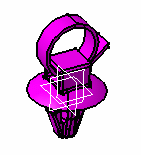
- An origin point
- An x, y and z direction
- Optionally, a specific keyword.
- The origin of the part (the support in this example) is placed at the point selected with the compass.
- The x, y plane of the part is parallel to the plane selected using the compass.
- The z direction of the part is collinear to the z direction selected using the compass.
- The keyword InstantiateAsNew is added and valuated using
the
Catalog Editor.
If the keyword InstantiateAsNew is valuated as False or does not exist, the same component is used several times, with the same part number.
